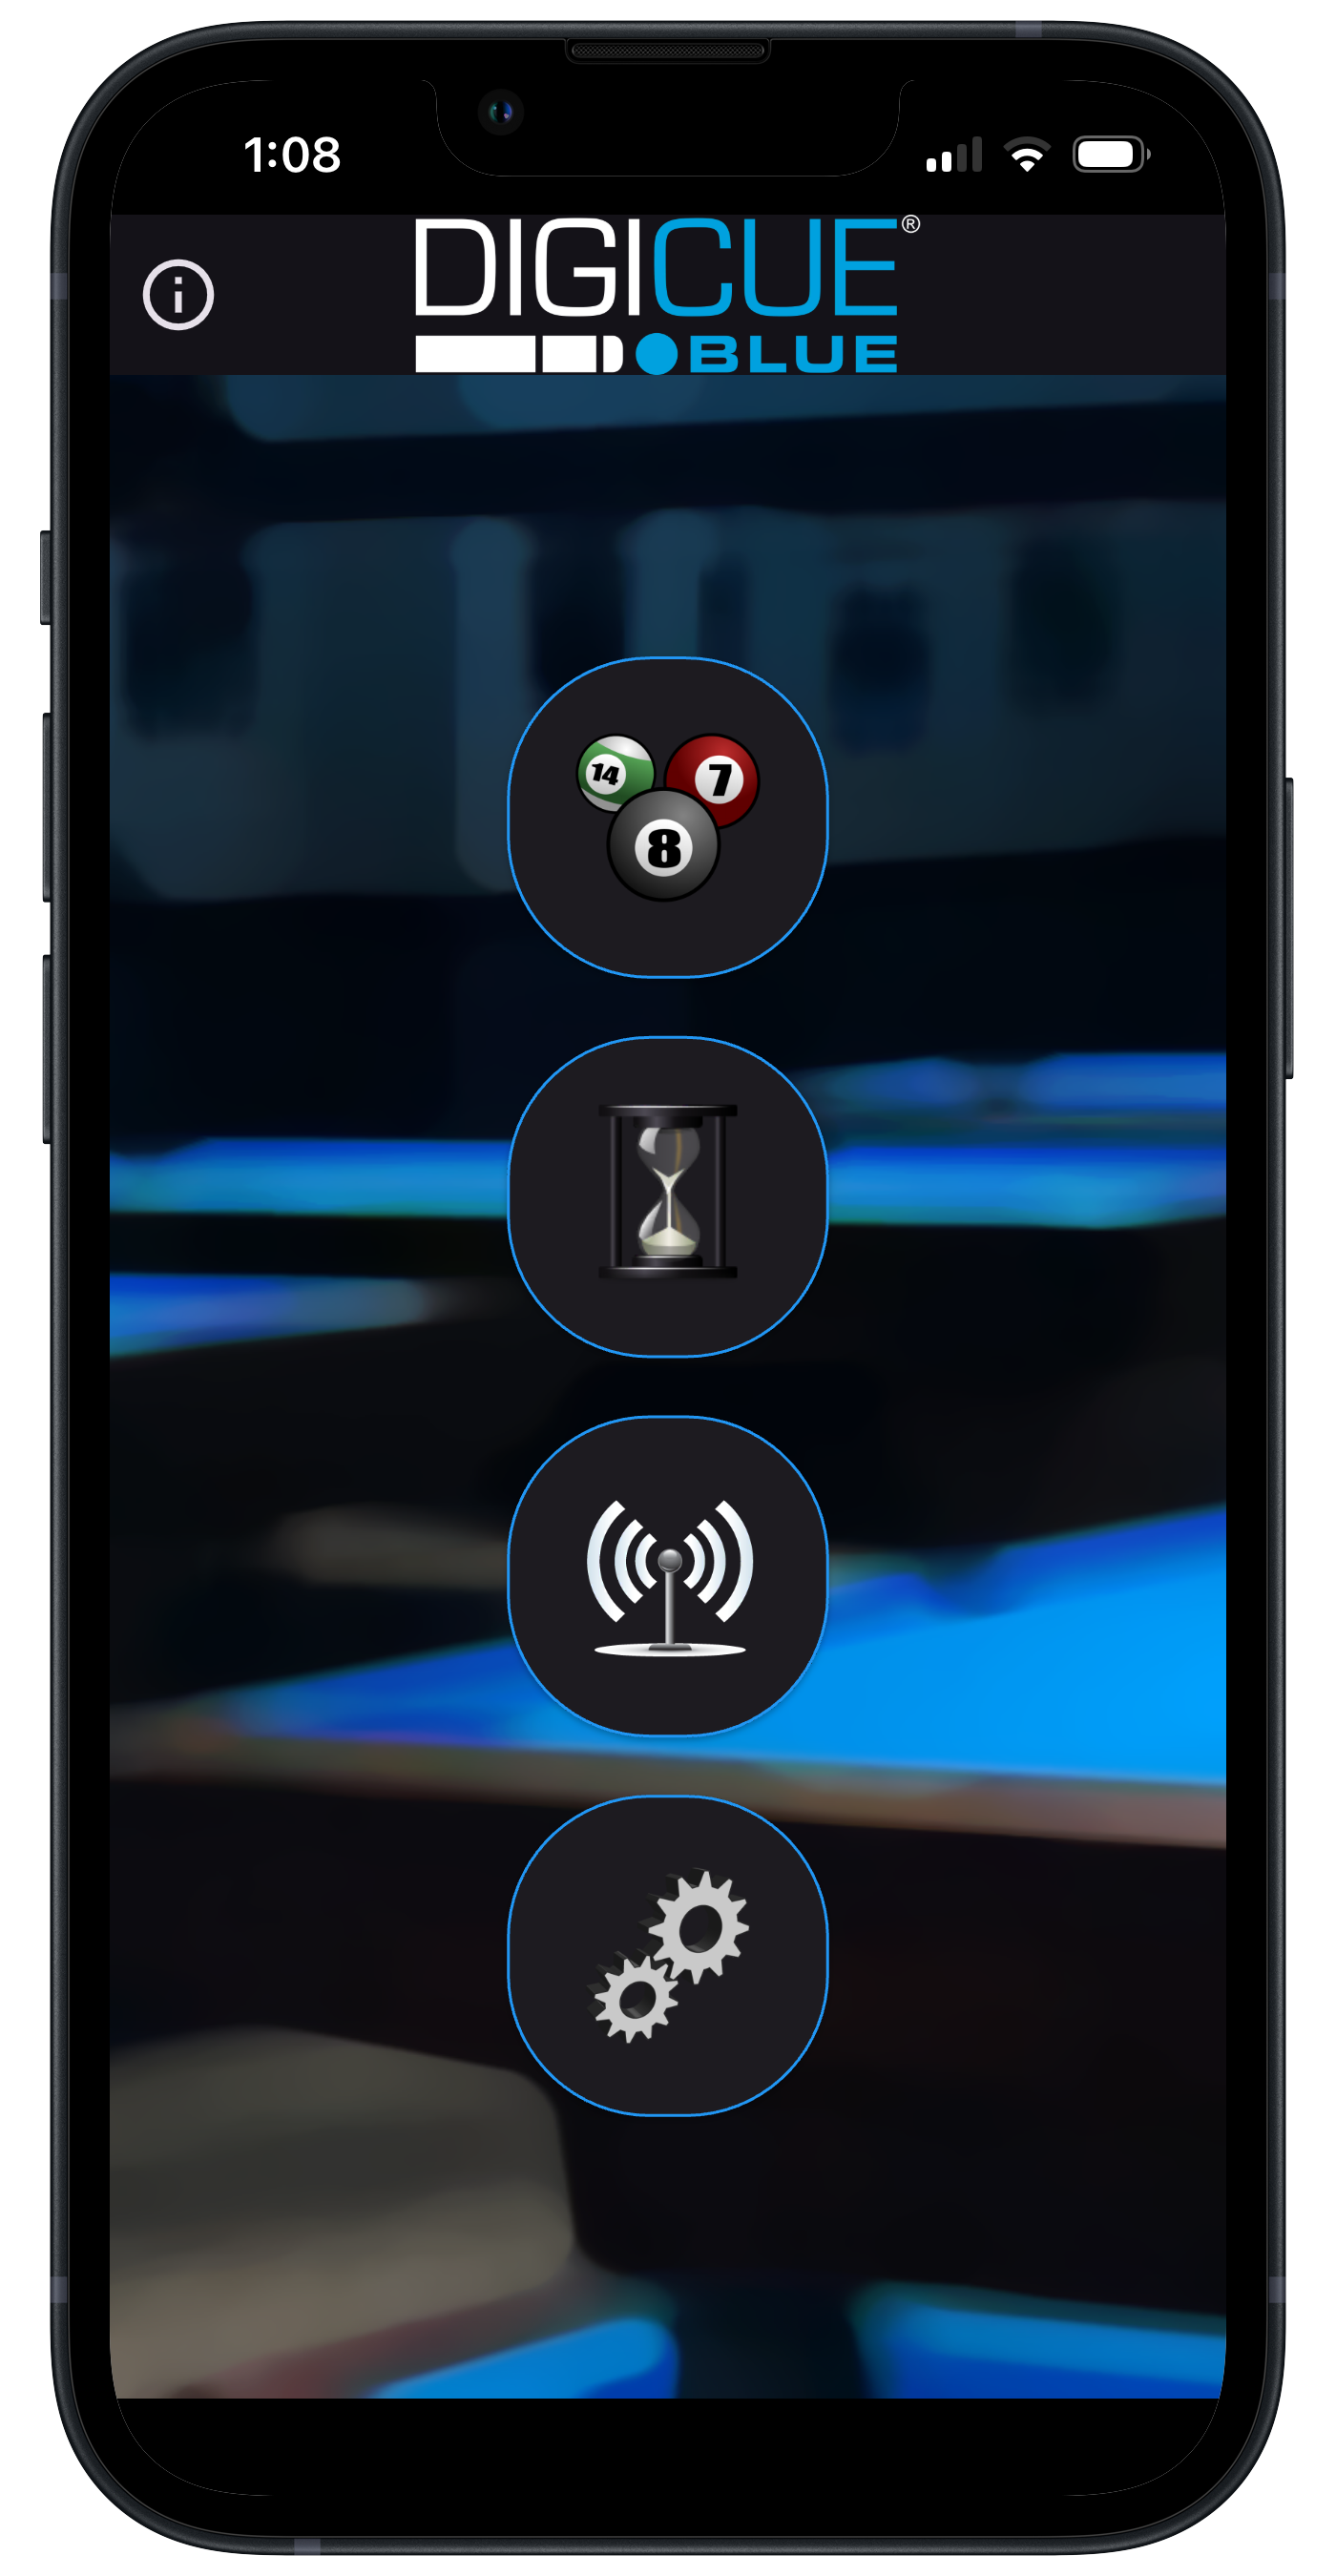
When you open the app you will see four buttons. Pressing them will lead you to the following pages (from top to bottom): Shooting page, History page, Devices page and Settings page. Also notice the letter 'i' with a circle around it. Press this button at any time for a quick start guide, more information, and app version.
Navigate to the Devices page. If you are presented with this option, click on Settings to enable wireless connectivity.
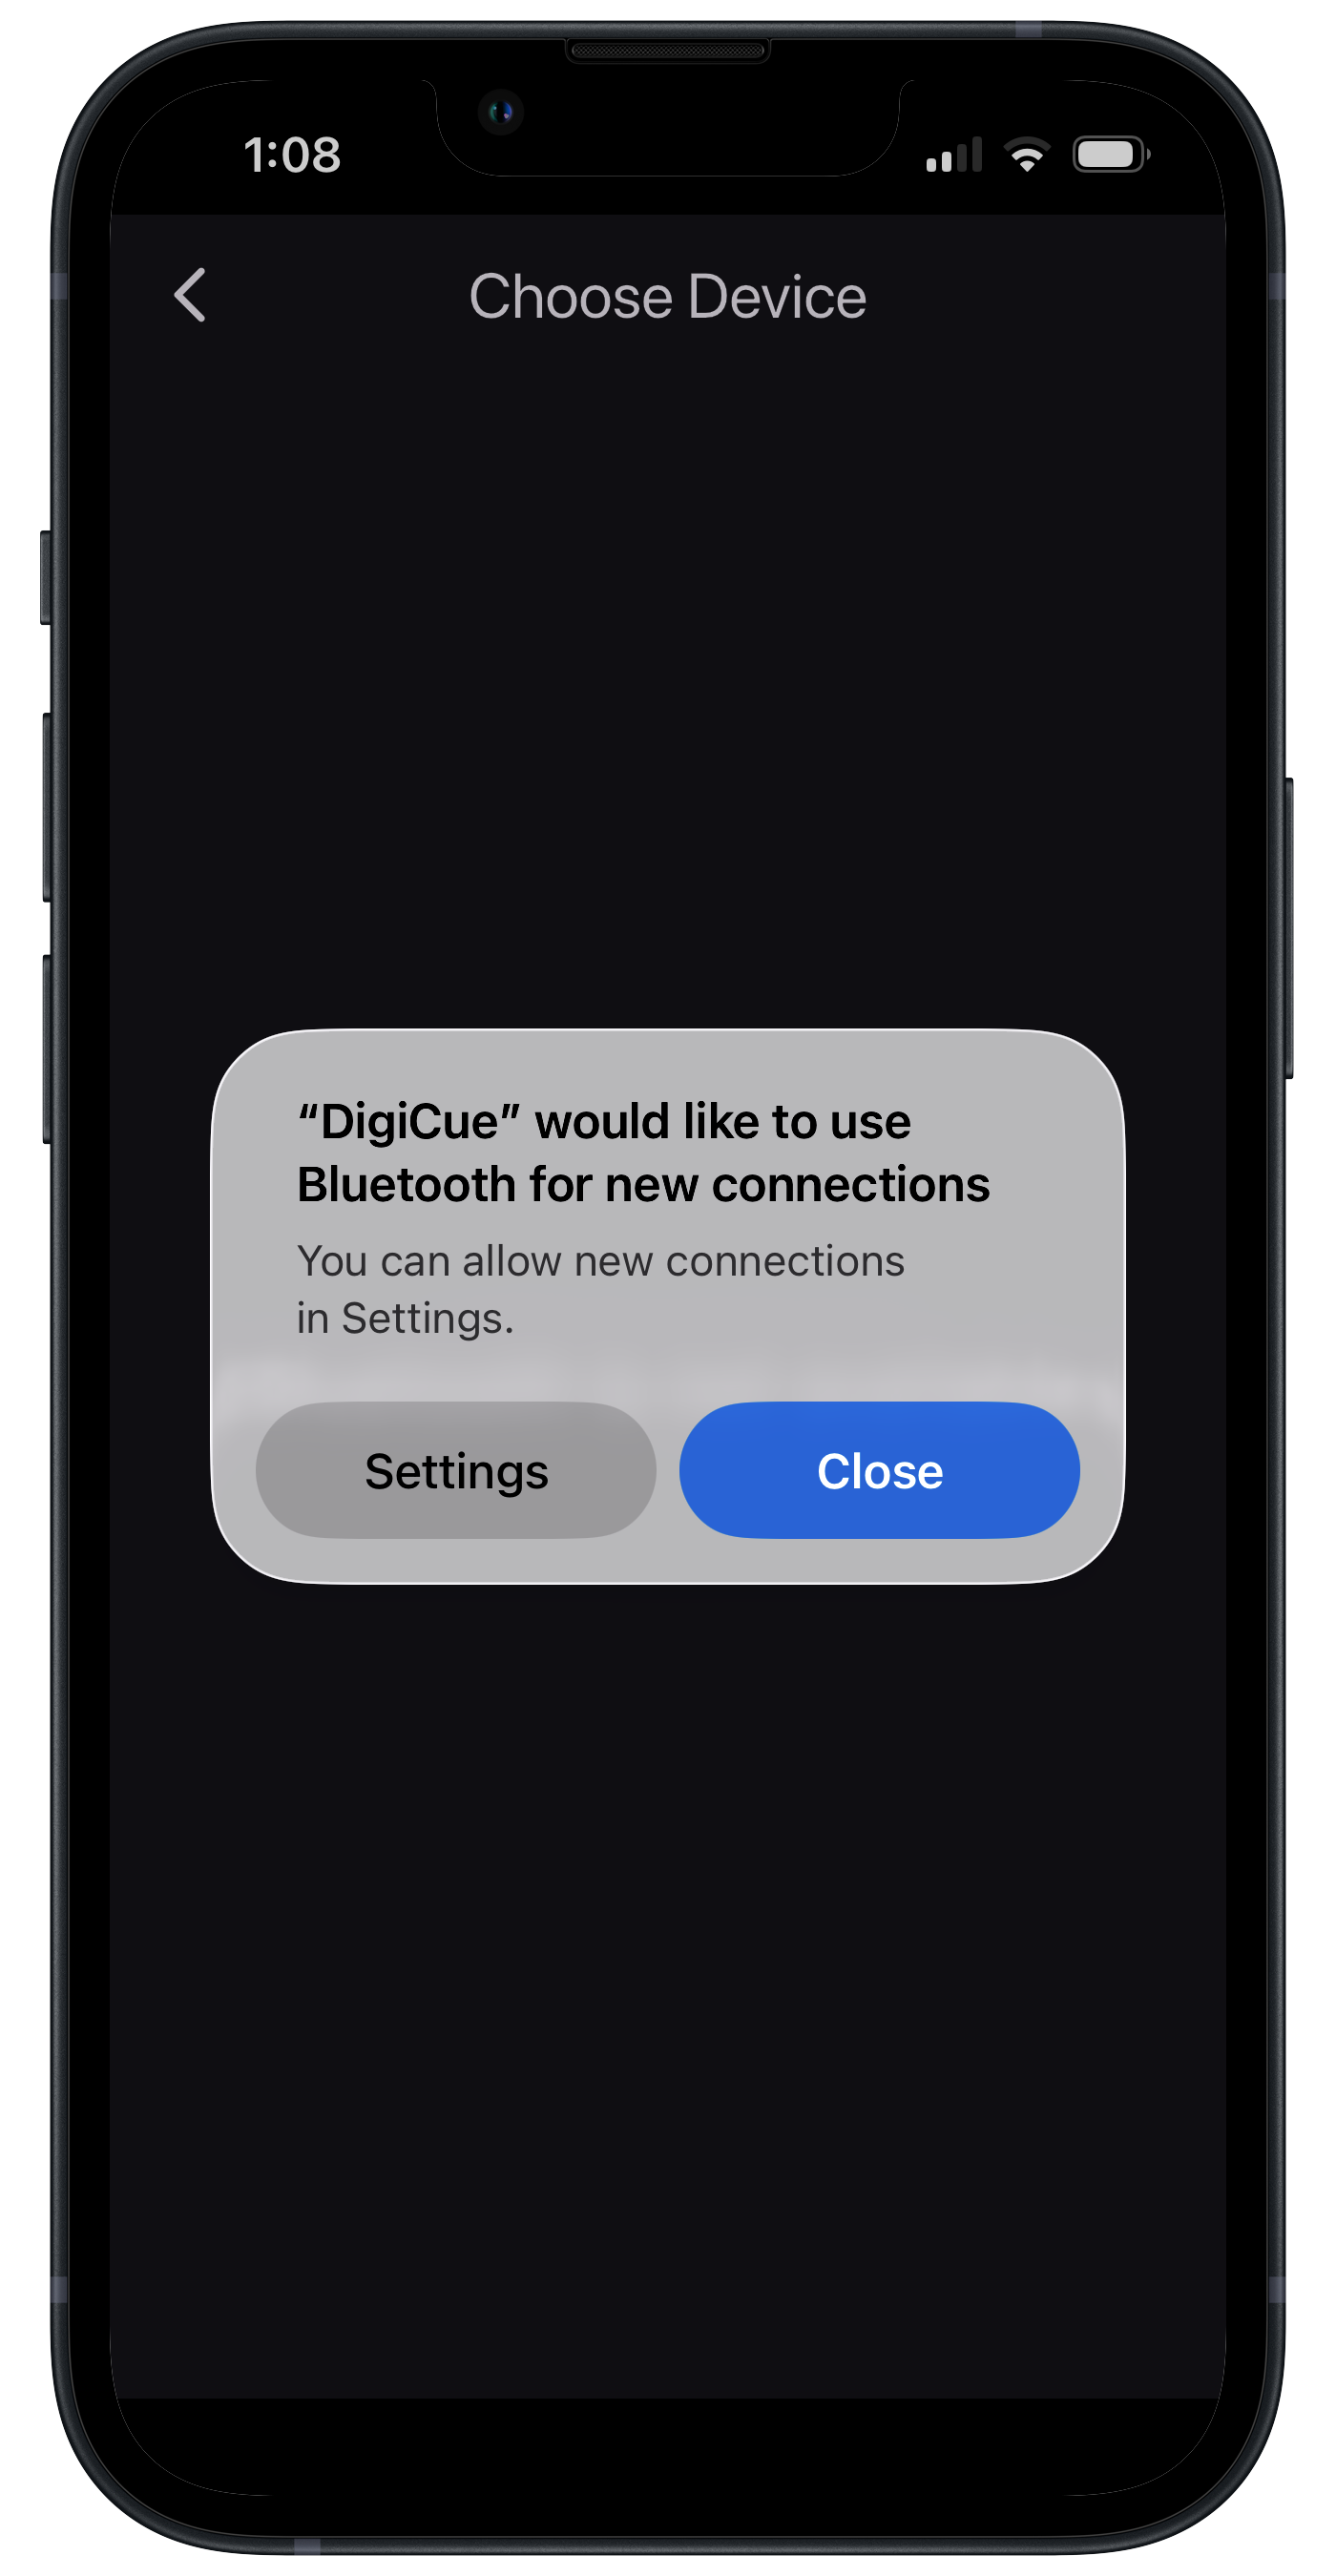
In settings (for iOS) click on the enable button. Android settings are similar but may differ from the image shown.
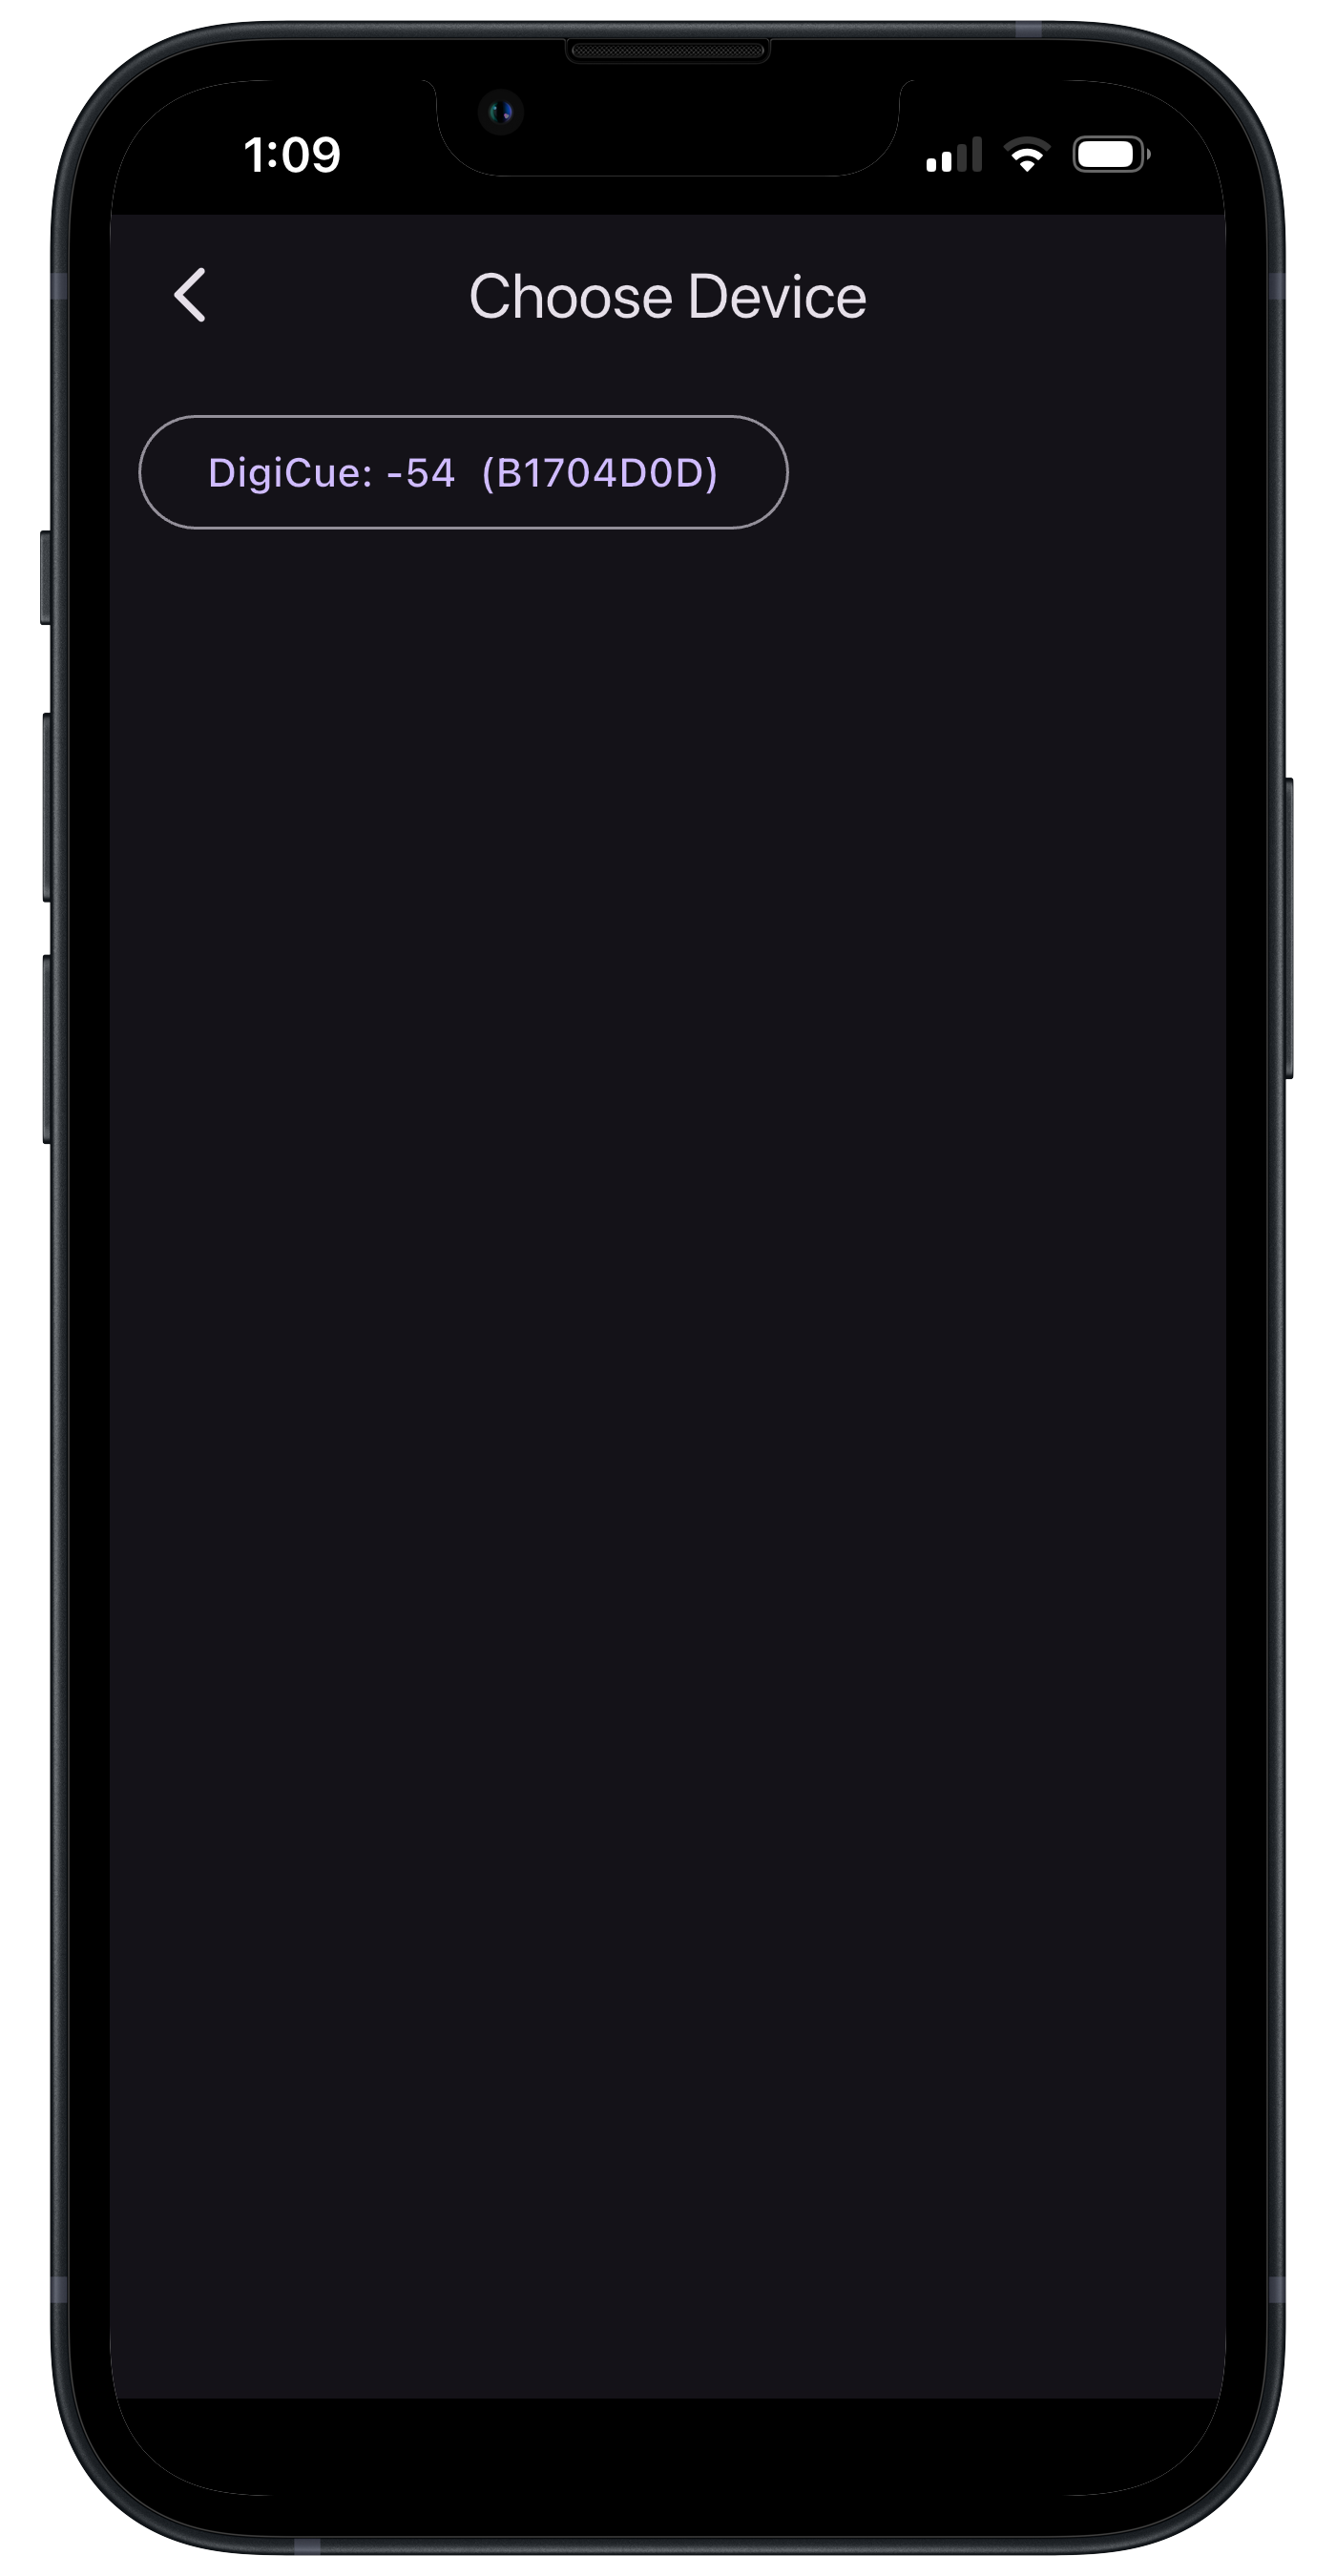
Return to the Devices page. Press the DigiCue once to turn on. You should feel at least one vibration. (If you do not, please refer to the Trobleshooting page in the Documentation section of this website.) A button with the text 'DigiCue' should appear along with the signal level and device ID, as shown in the image. Press the button to select the device.
Navigate to the shooting page. You should see the text 'Start Shooting'. Take a shot with a physical cue ball, and verify that your device now displays data similar to what is shown in the image here. You must hit an actual cue ball. Nothing will happen if you stroke into the air. If you do not see any data, please refer to the Troubleshooting page in the Documentation section of this website. Descriptions of each shot parameter can be viewed by pressing the question mark '?' with the circle around it in the upper right corner of the screen.
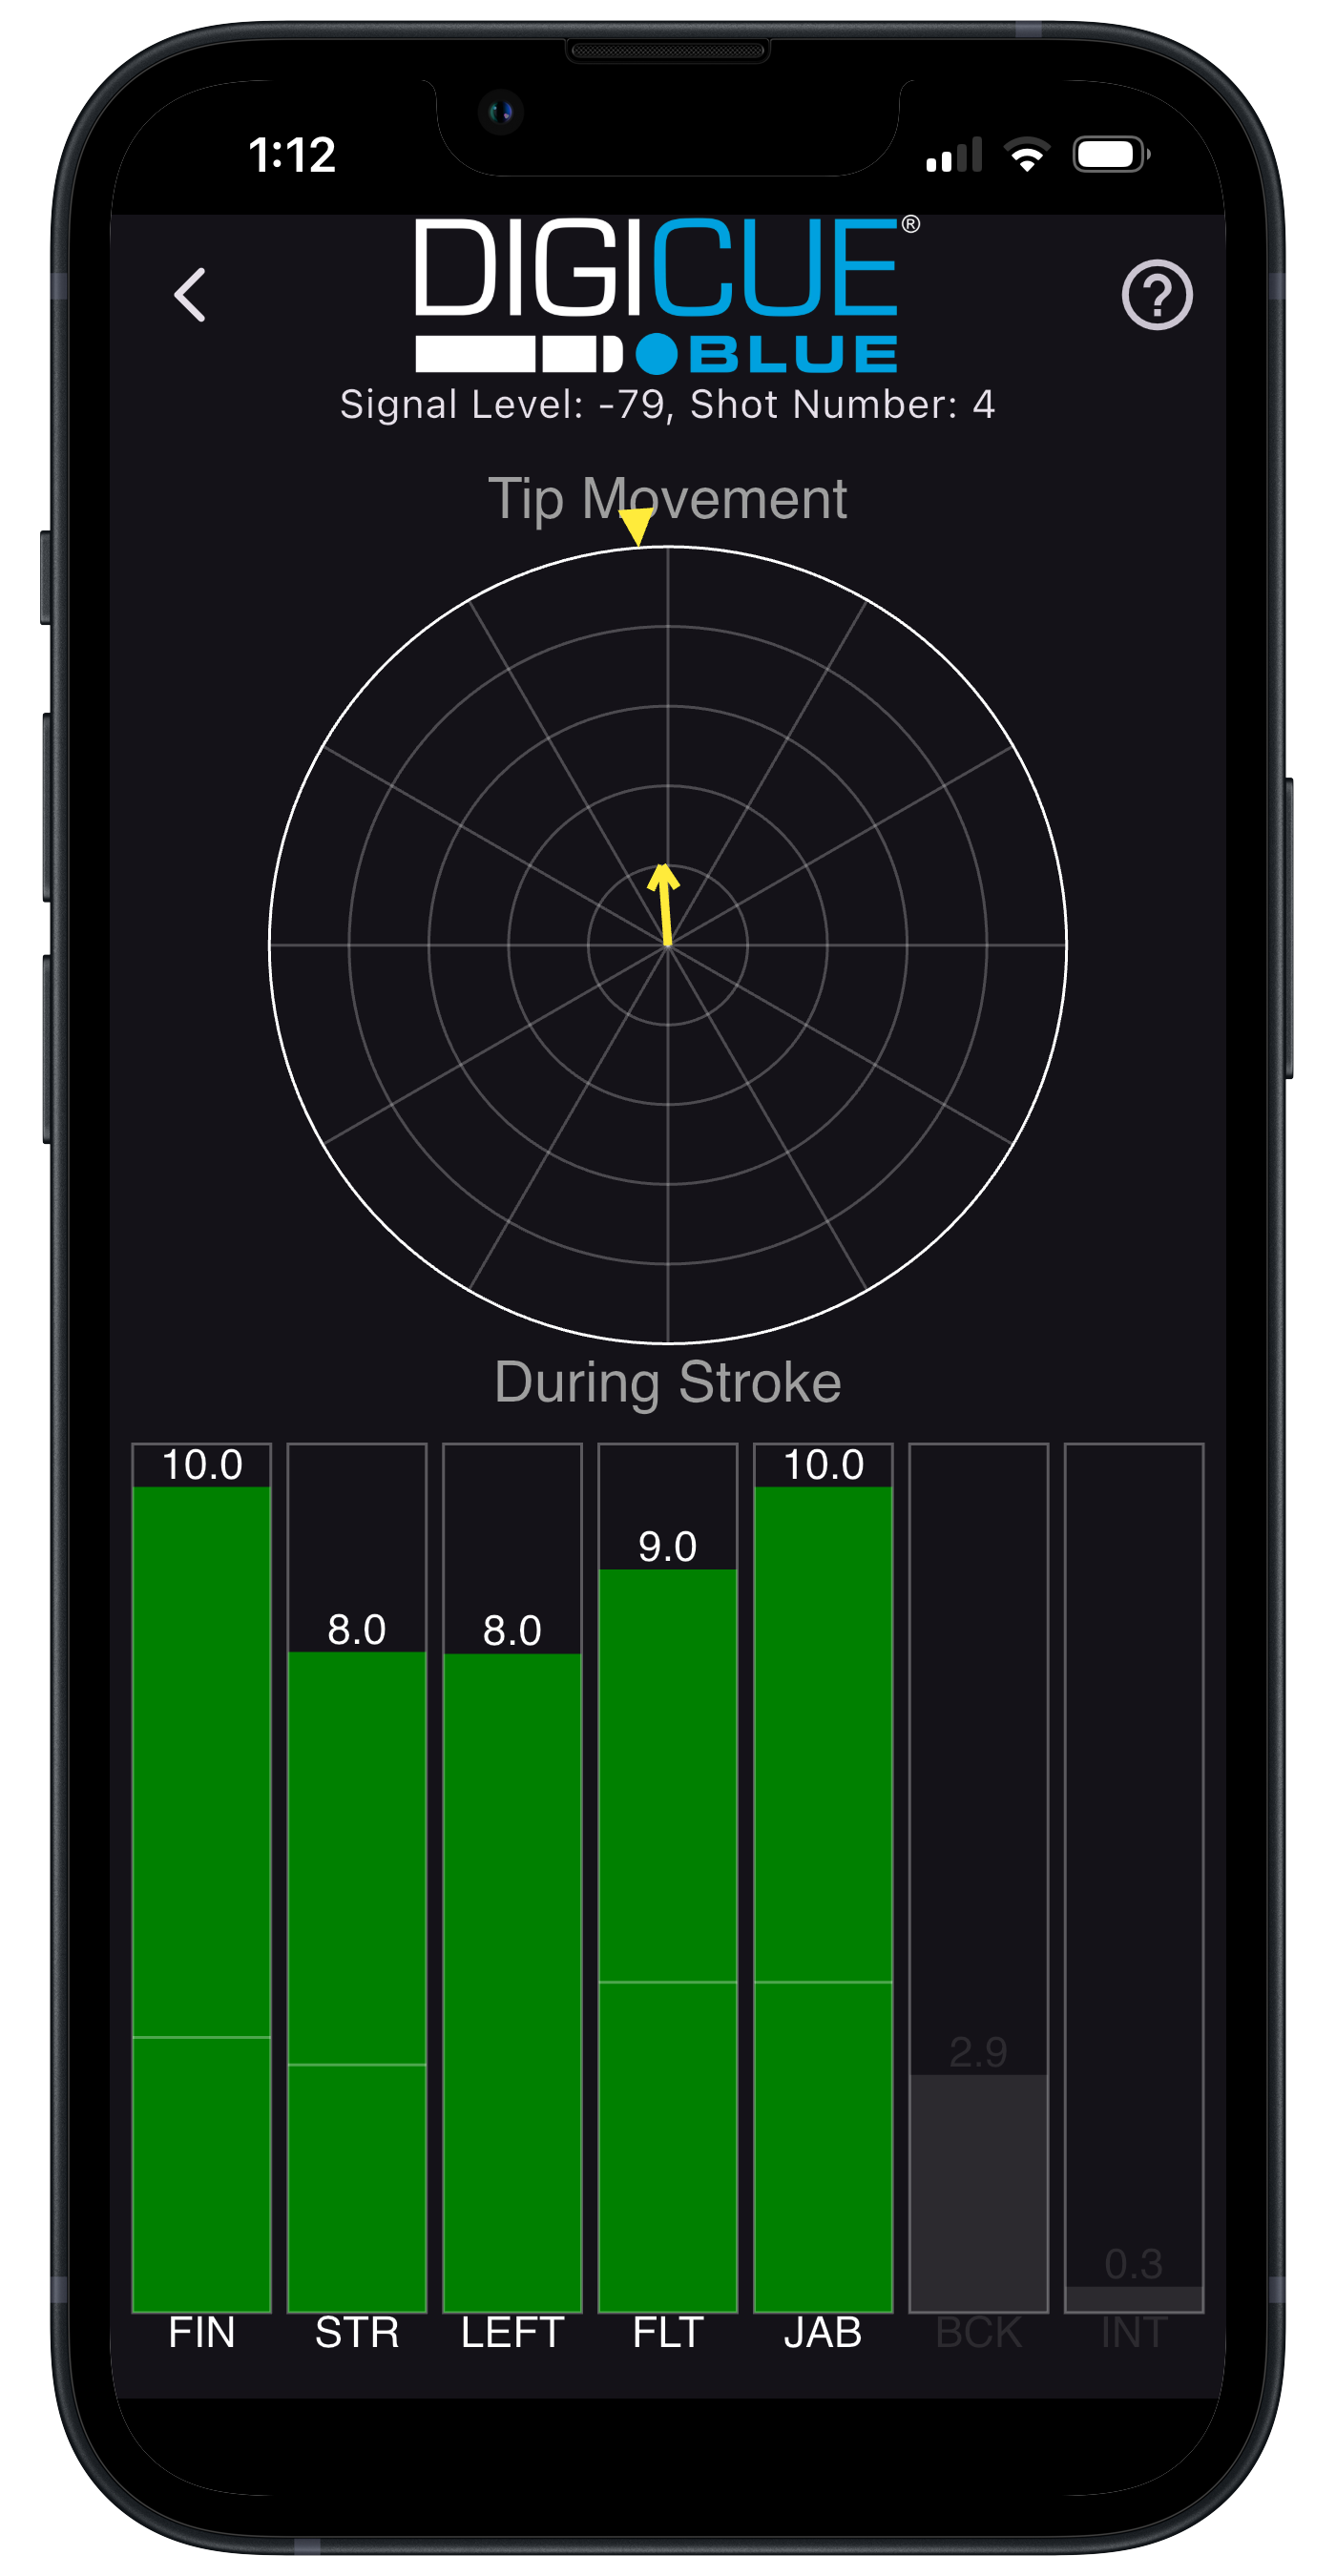
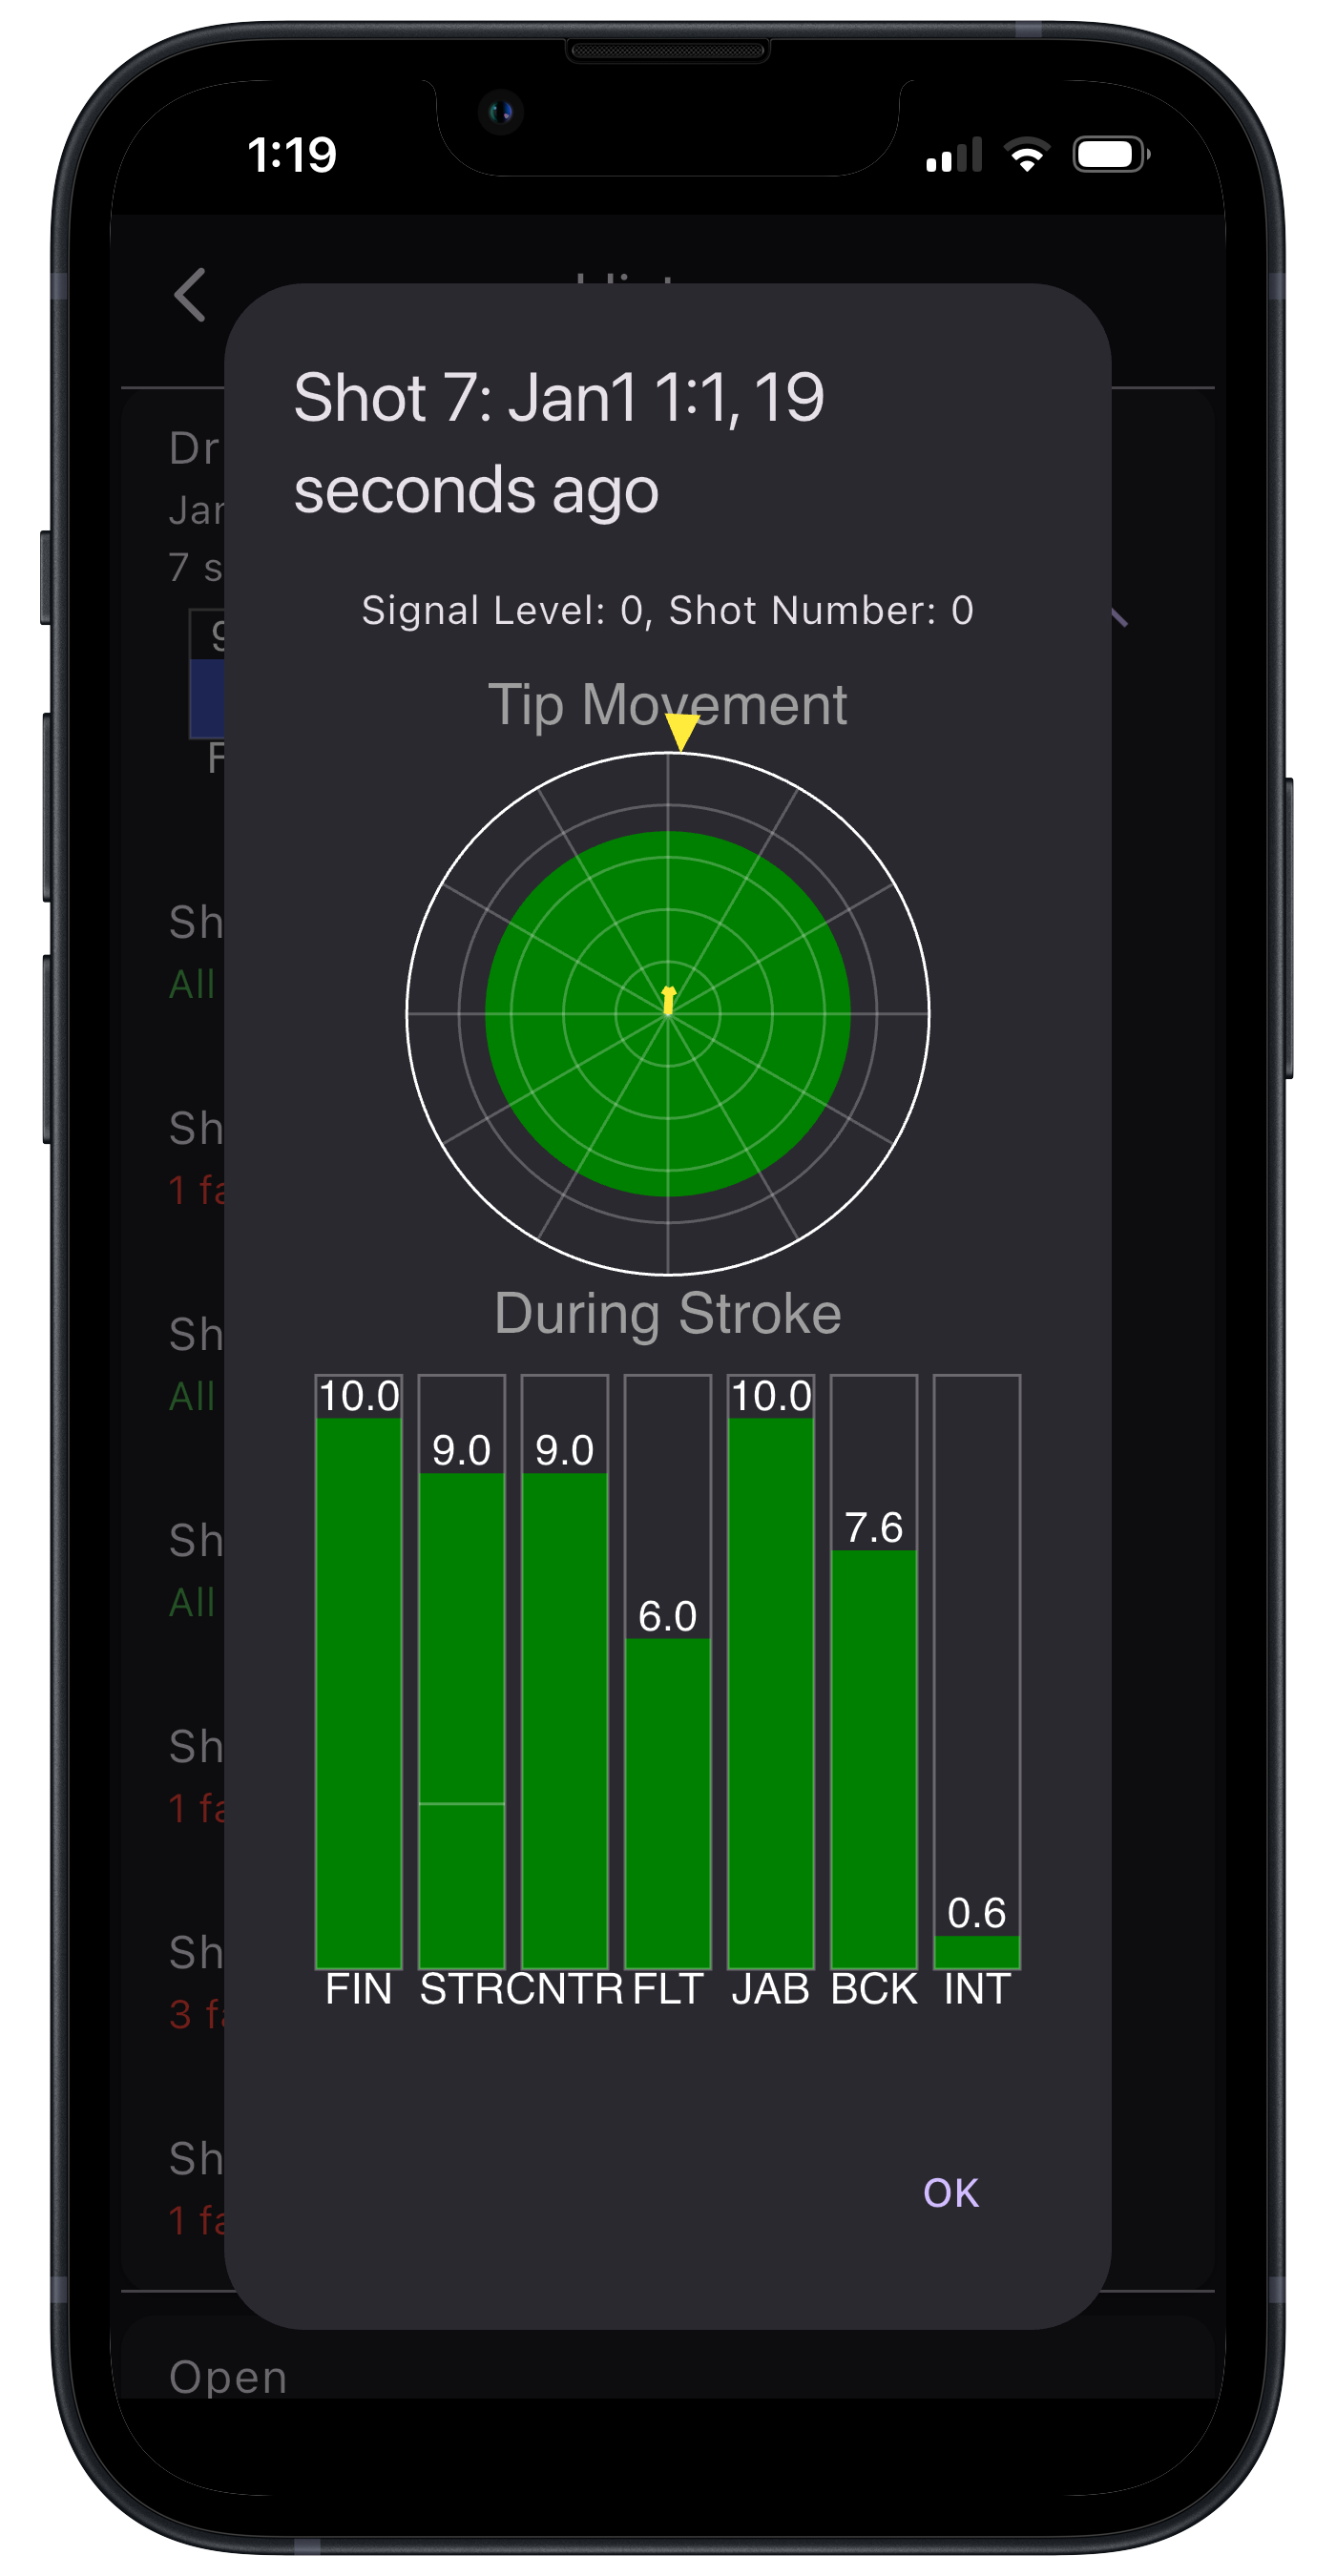
The Shooting page shows data in two sections. The lower half of the screen shows a vertical bar graph, and the upper halg of the screen shows a circular plot. The bar graph shows seven parameters with a score ranked from 0 to 10. Each bar also has light gray horizontal line. This horizontal line is the threshold for each parameter. The bar will turn green if your score for that parameter scores above the threshold, and will turn red if it is below. The more difficult the setting, the higher the threshold. You can either use one of three preset difficulty modes (Beginner, Intermediate, or Advanced), or you can customize the threshold levels of each parameter yourself. You may also turn off any parameter, in which case it will appear as grayed out. Acronyms are used for readability: FIN is Finish, STR is Steering, LEFT/RGHT/CNTR is Left or Right steering or a Center hit, FLT is Follow Through, JAB is Jab Stroke, BCK is Backstroke, and INT is Shot Interval. The circular plot shows a yellow arrow pointing in a direction. This is the direction that your tip moved offline during the last fraction of a second before you hit the cue ball. The longer the arrow the more your tip moved in that direction. The center of the plot is as seen looking down your billiards cue as if it were a rifle. It does not represent the face of the cue ball. It represents any deviations of your tip from traveling in a straight line through space to impact, regardless of where you actually hit the cue ball.

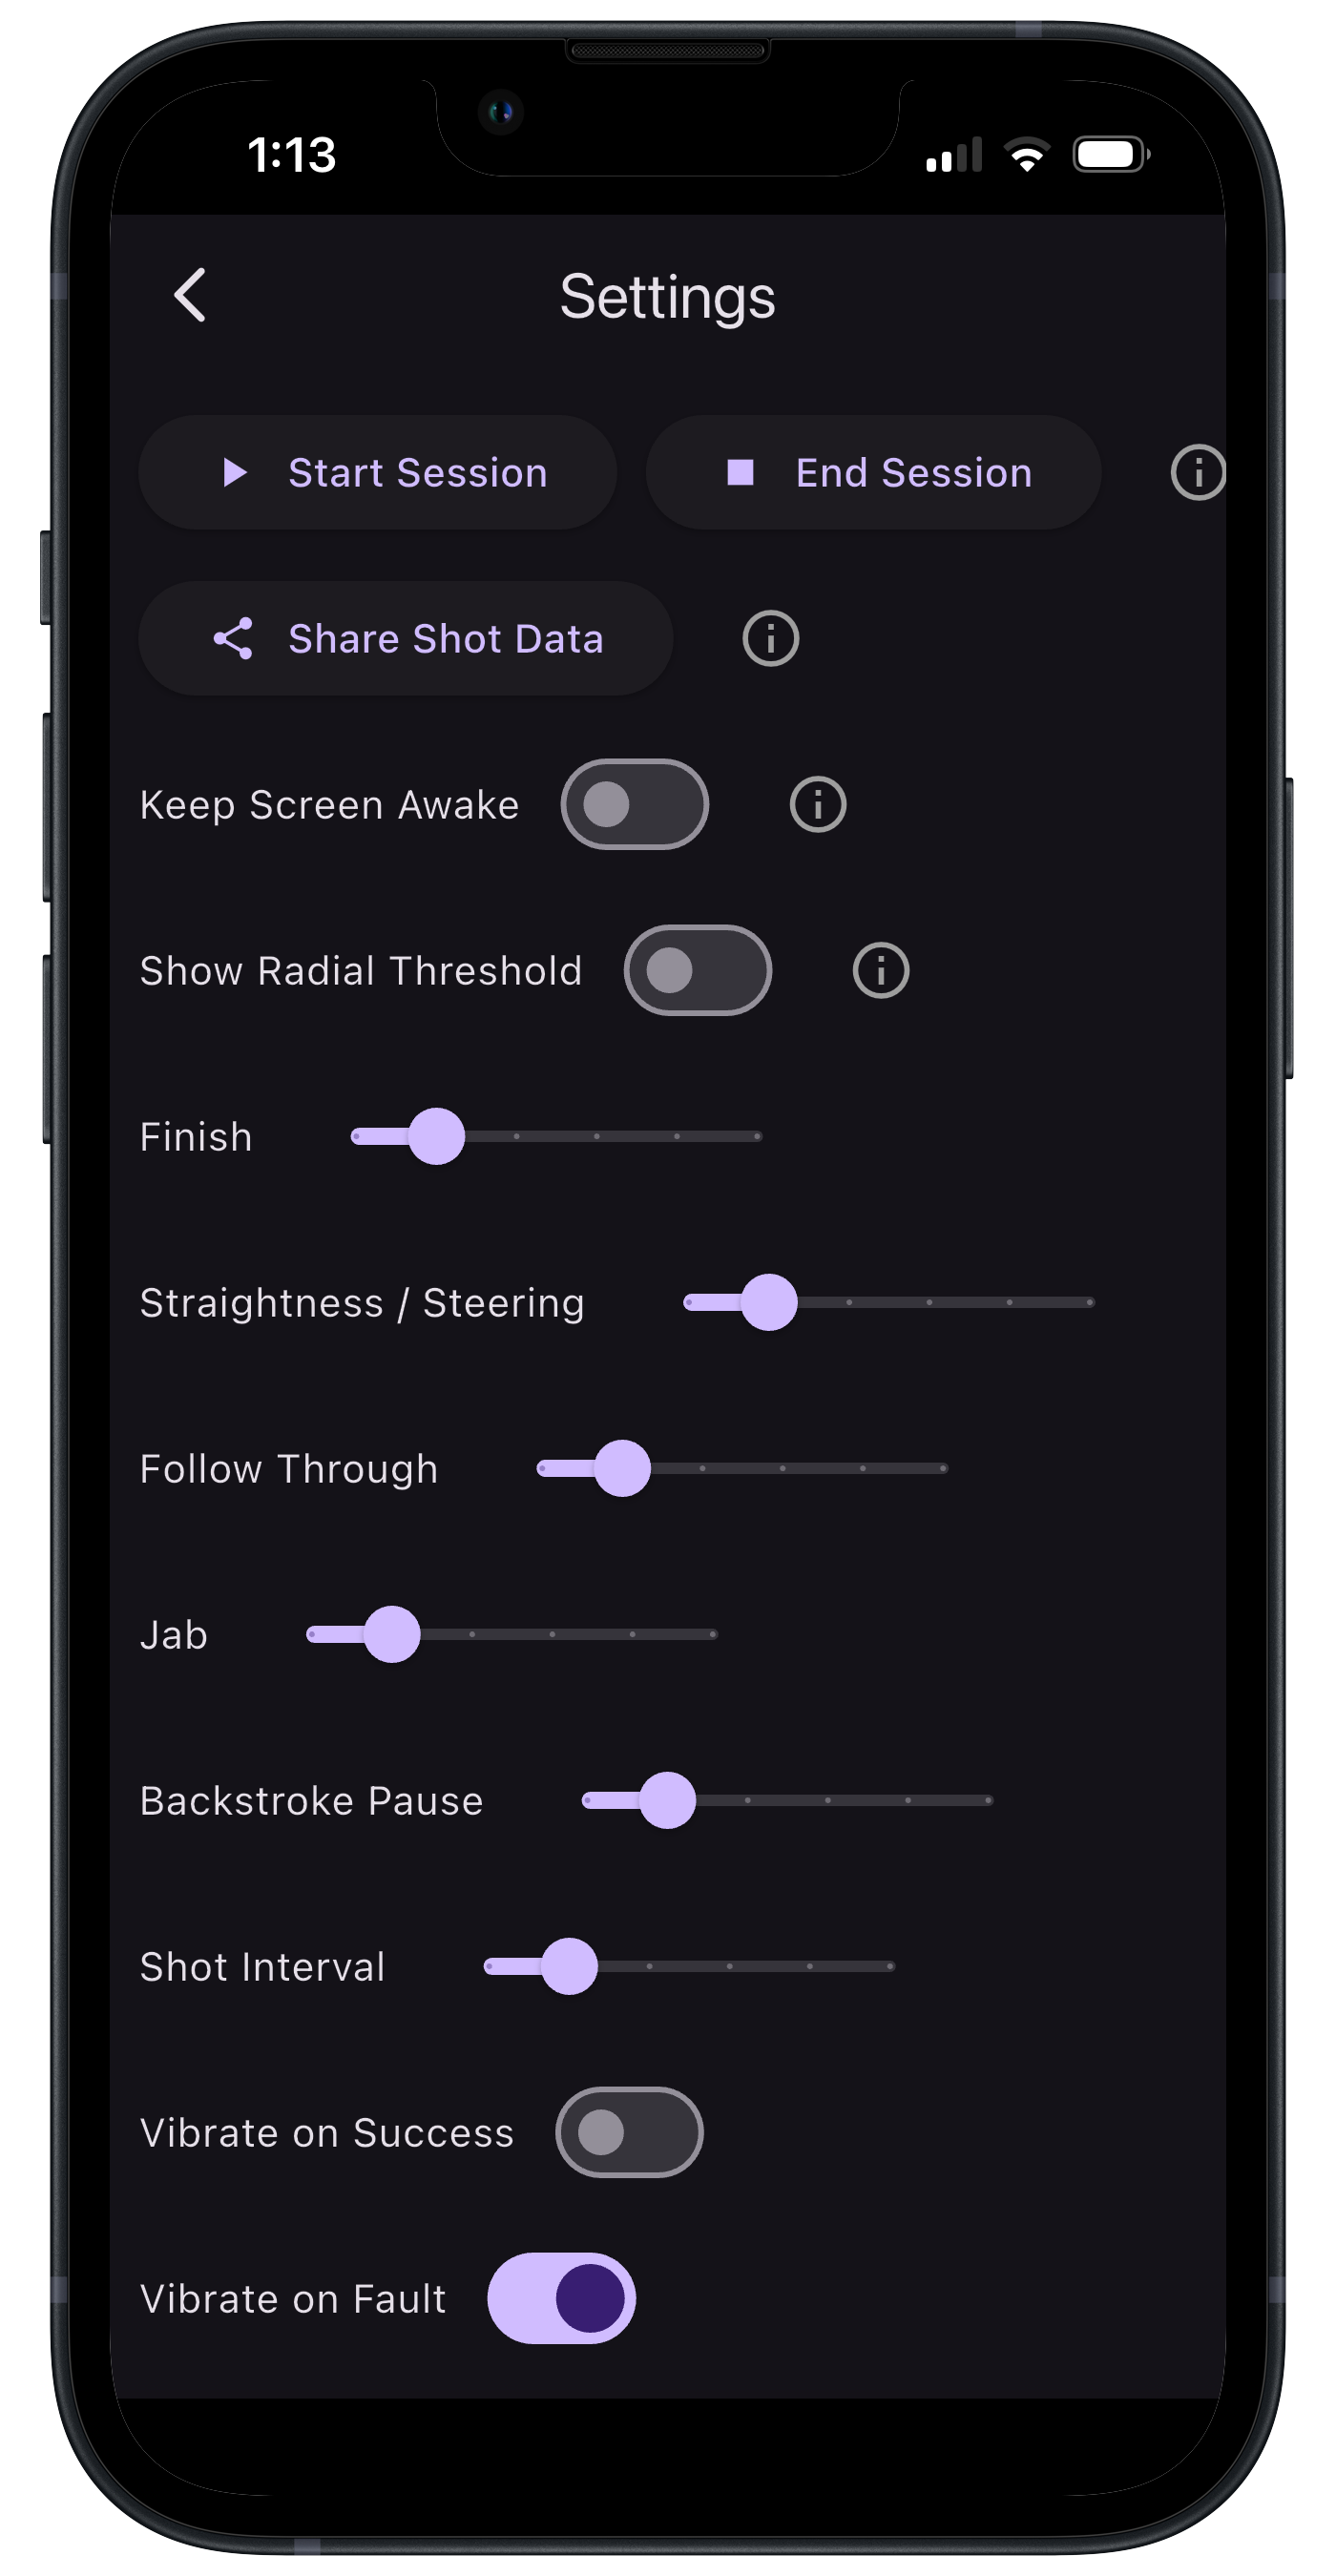
Press the back arrow and navigate to the Settings page. Here you will be able to change settings of the app and of the DigiCue BLUE. Press the Information icon to show more information about the setting.
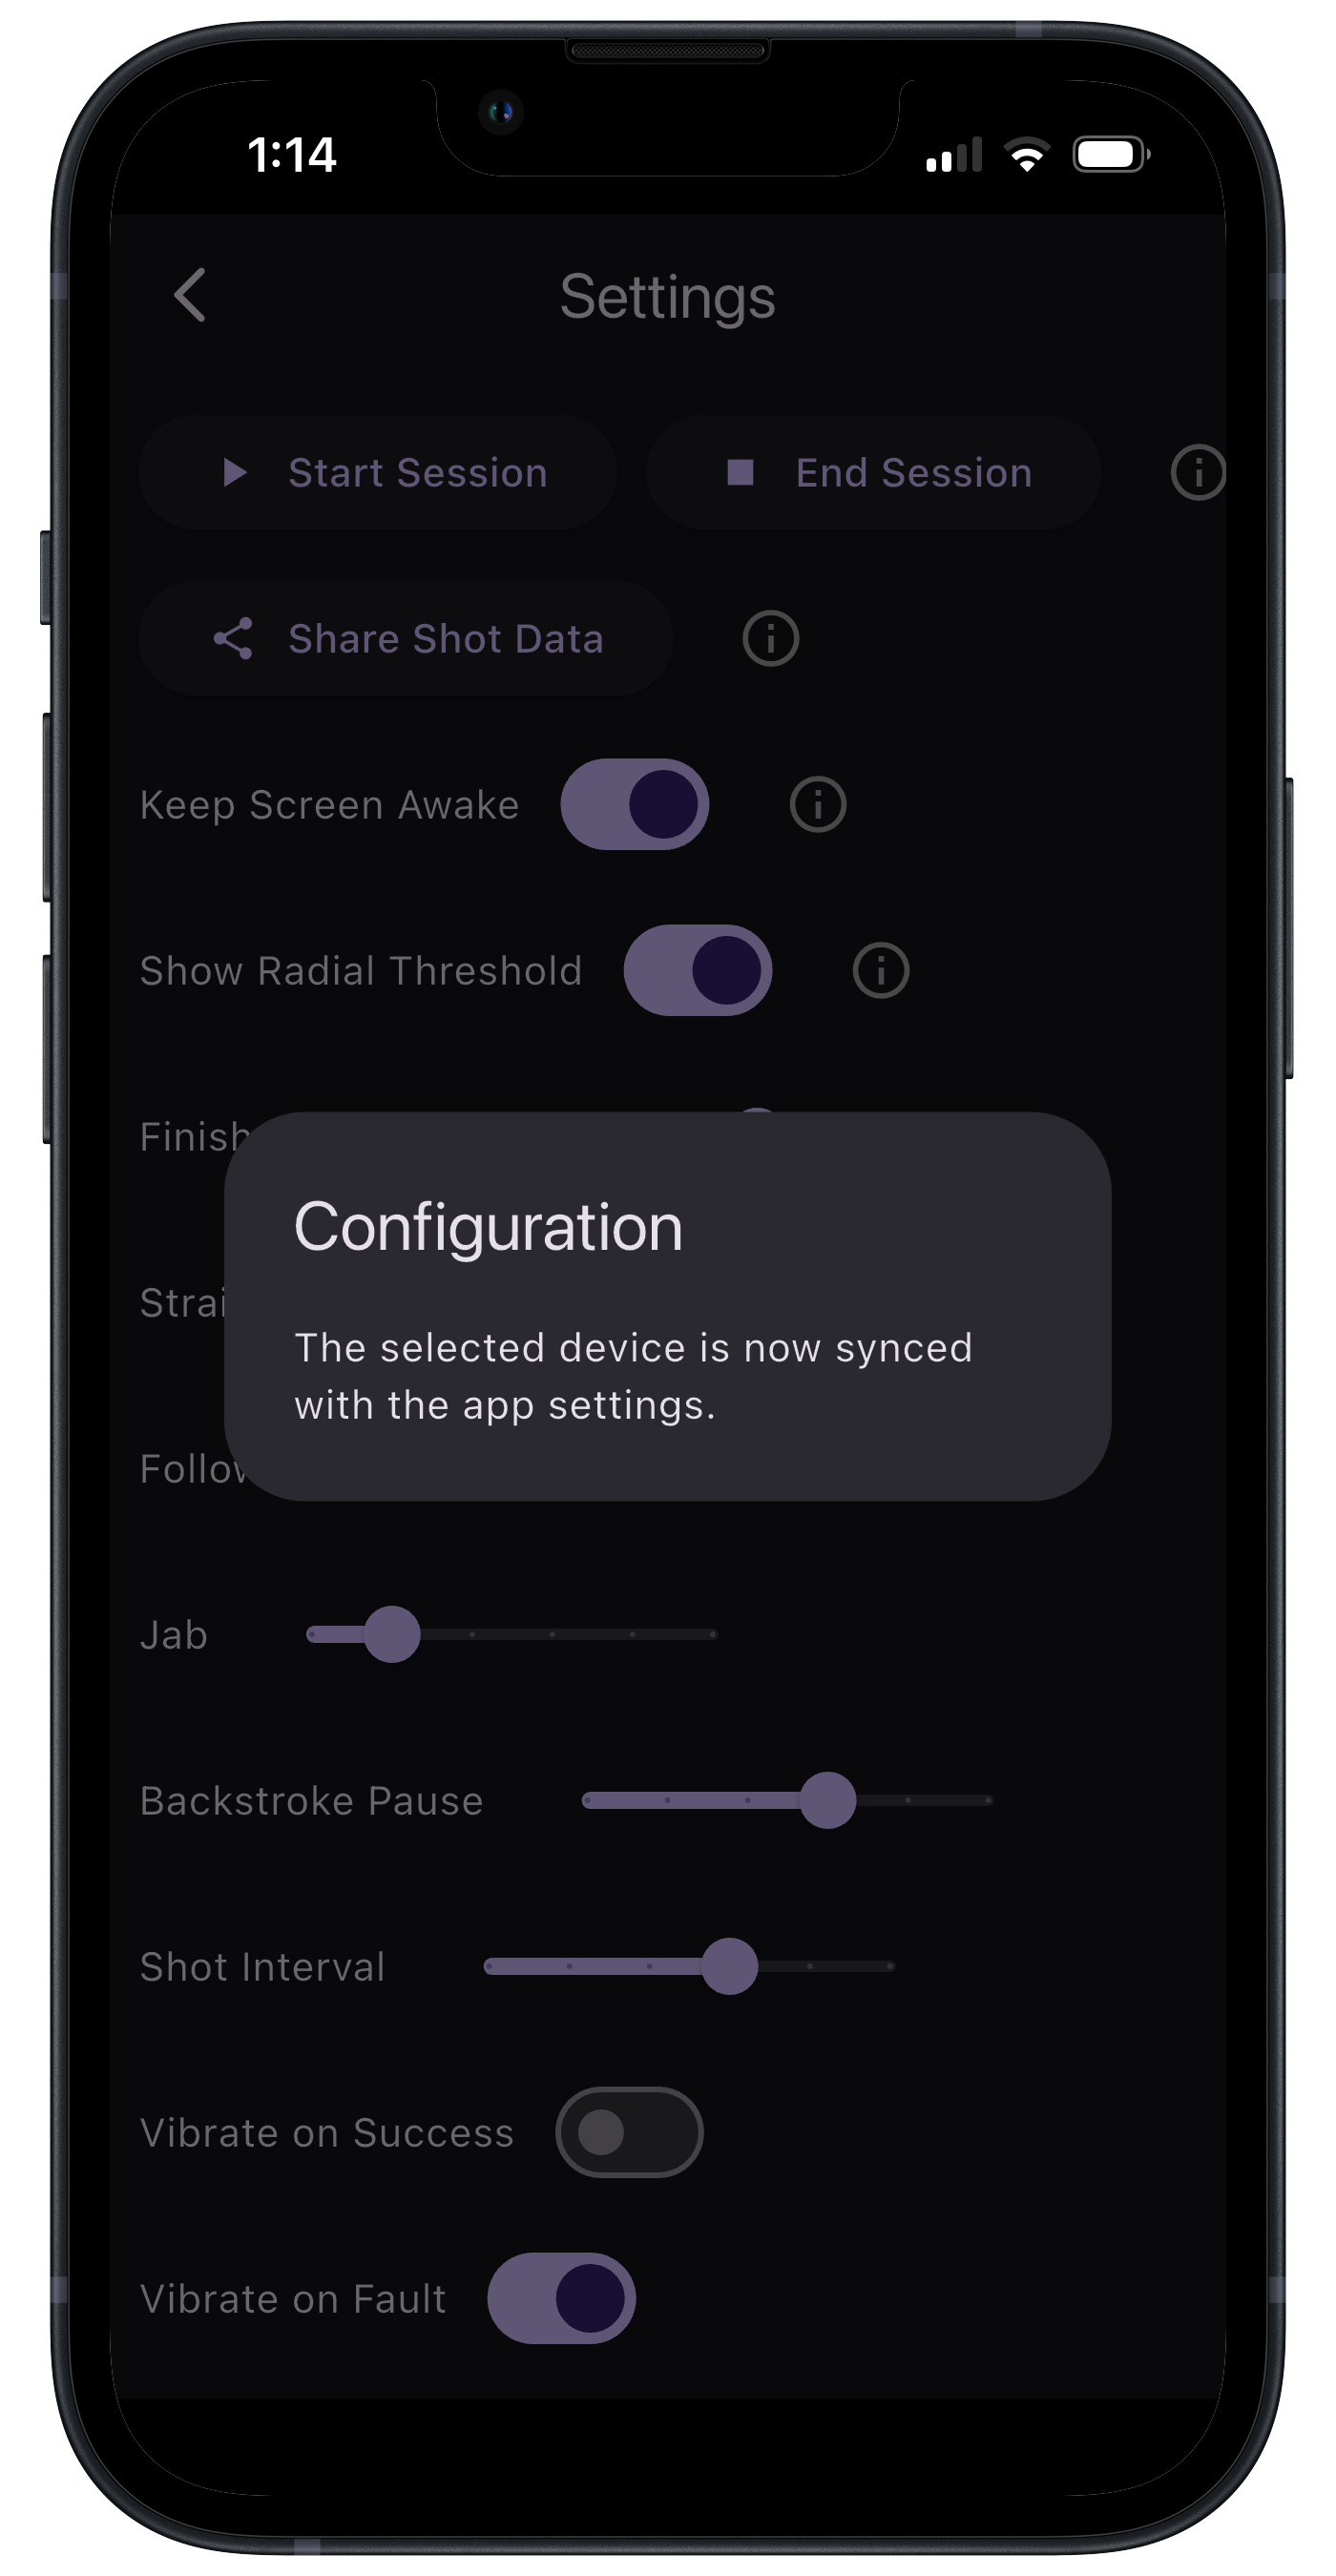
After you have changed your threshold parameters and vibrate settings, press the DigiCue BLUE power button twice slowly, but within 1 second, to sync it with your configuration. The message shown in the image will appear letting you know that the configuration was saved to the DigiCue BLUE.
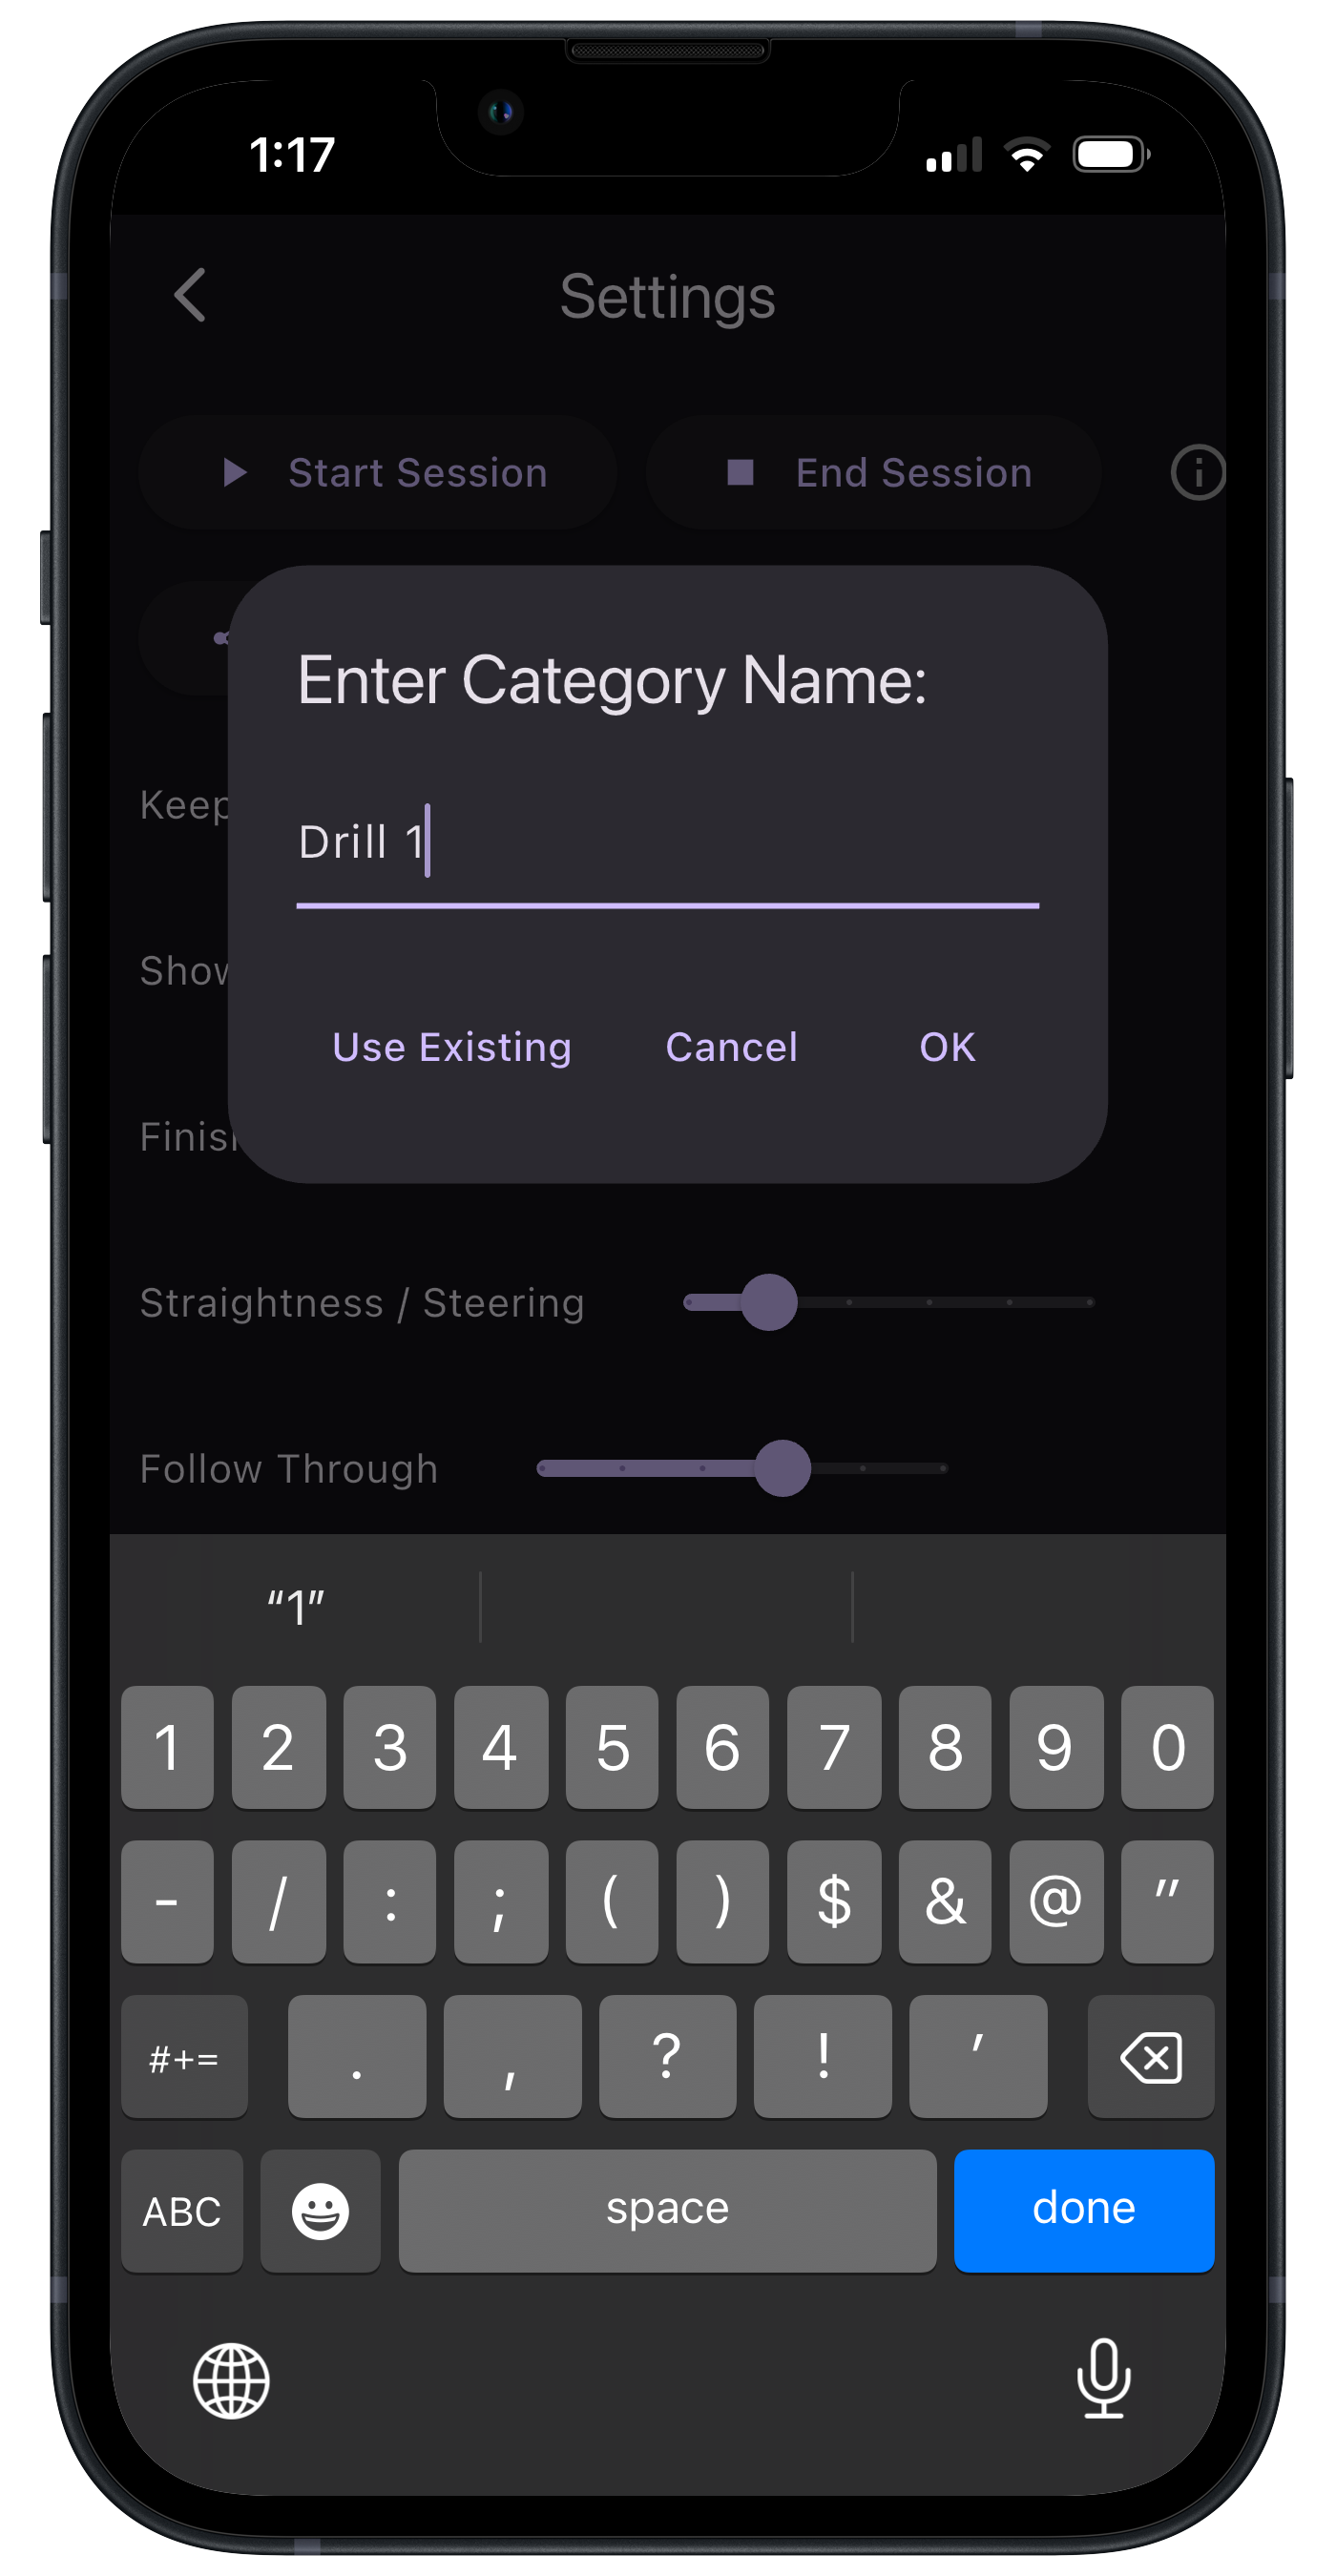
Also on the Settings page is the ability to start and stop Sessions. A Session is a group of shots in which analysis can be performed and organized. Press Start Session and enter the name of a drill, event, practice session, game, match, or whatever you want to use for a label. You may also select to add data to a previous Session by selecting Use Existing. Clock OK when done.
A message will appear letting you know that all shots will now be saved under the Session you started. Go back to the shooting page and start shooting!

Navigate to the History page at anytime to see statistics of your current session.
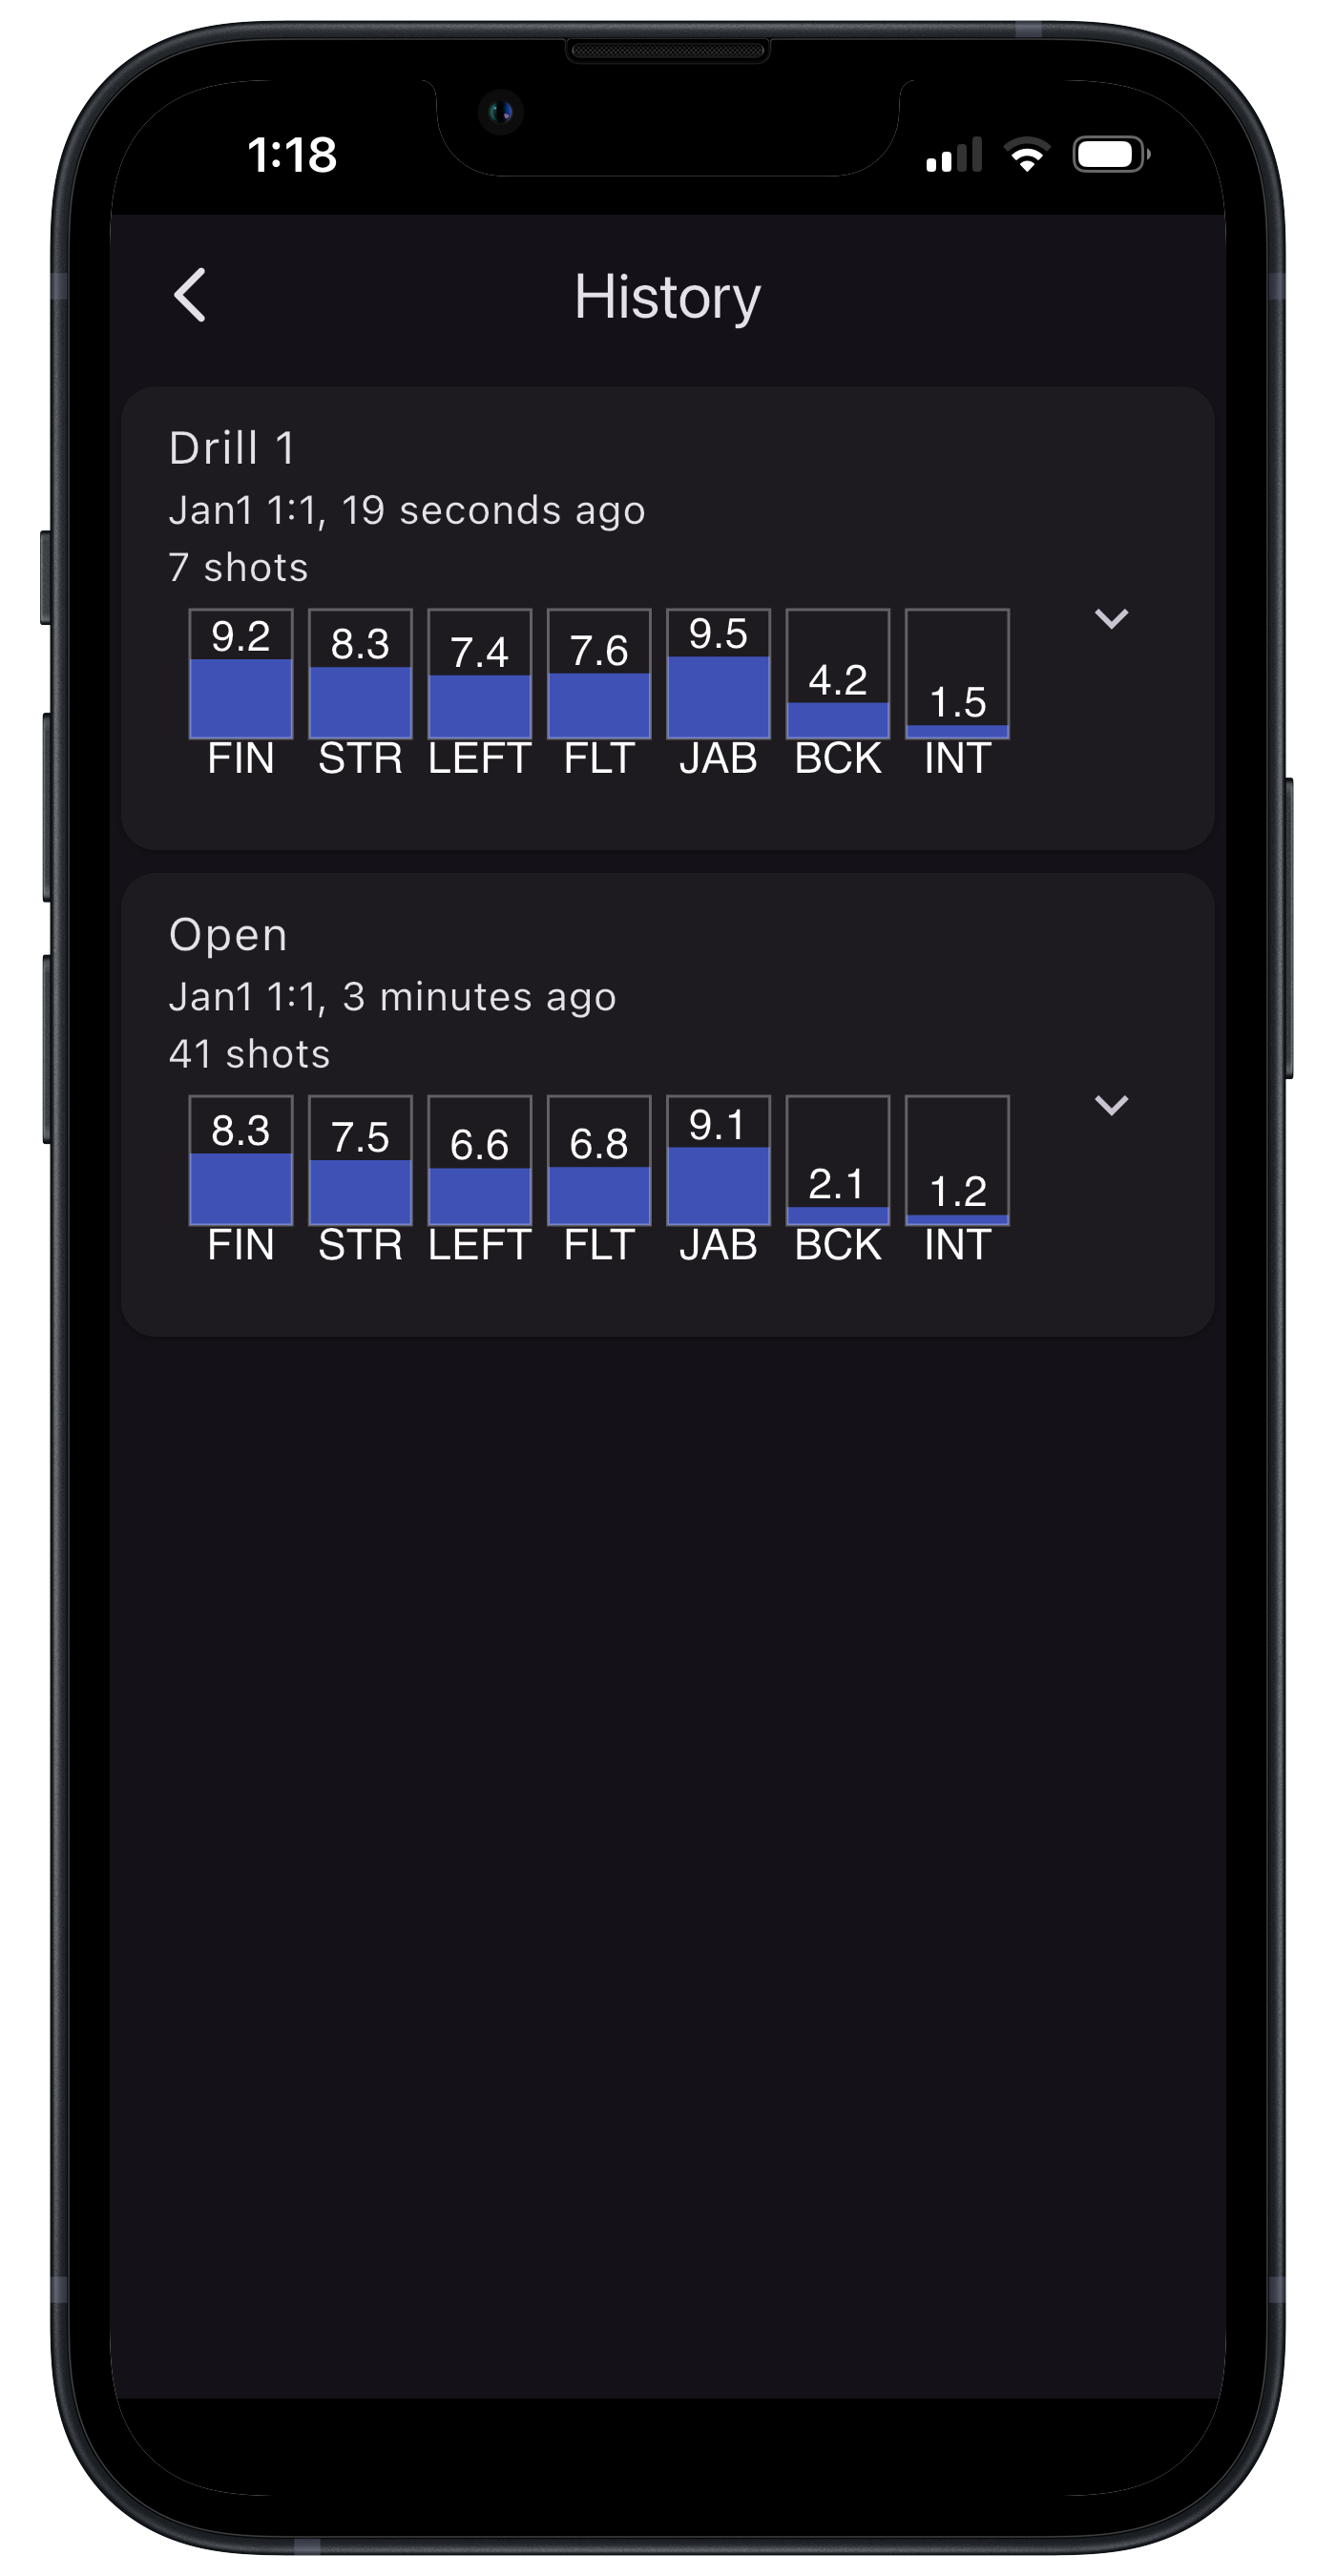
Expand the data of a Session to see more information about specific shots.
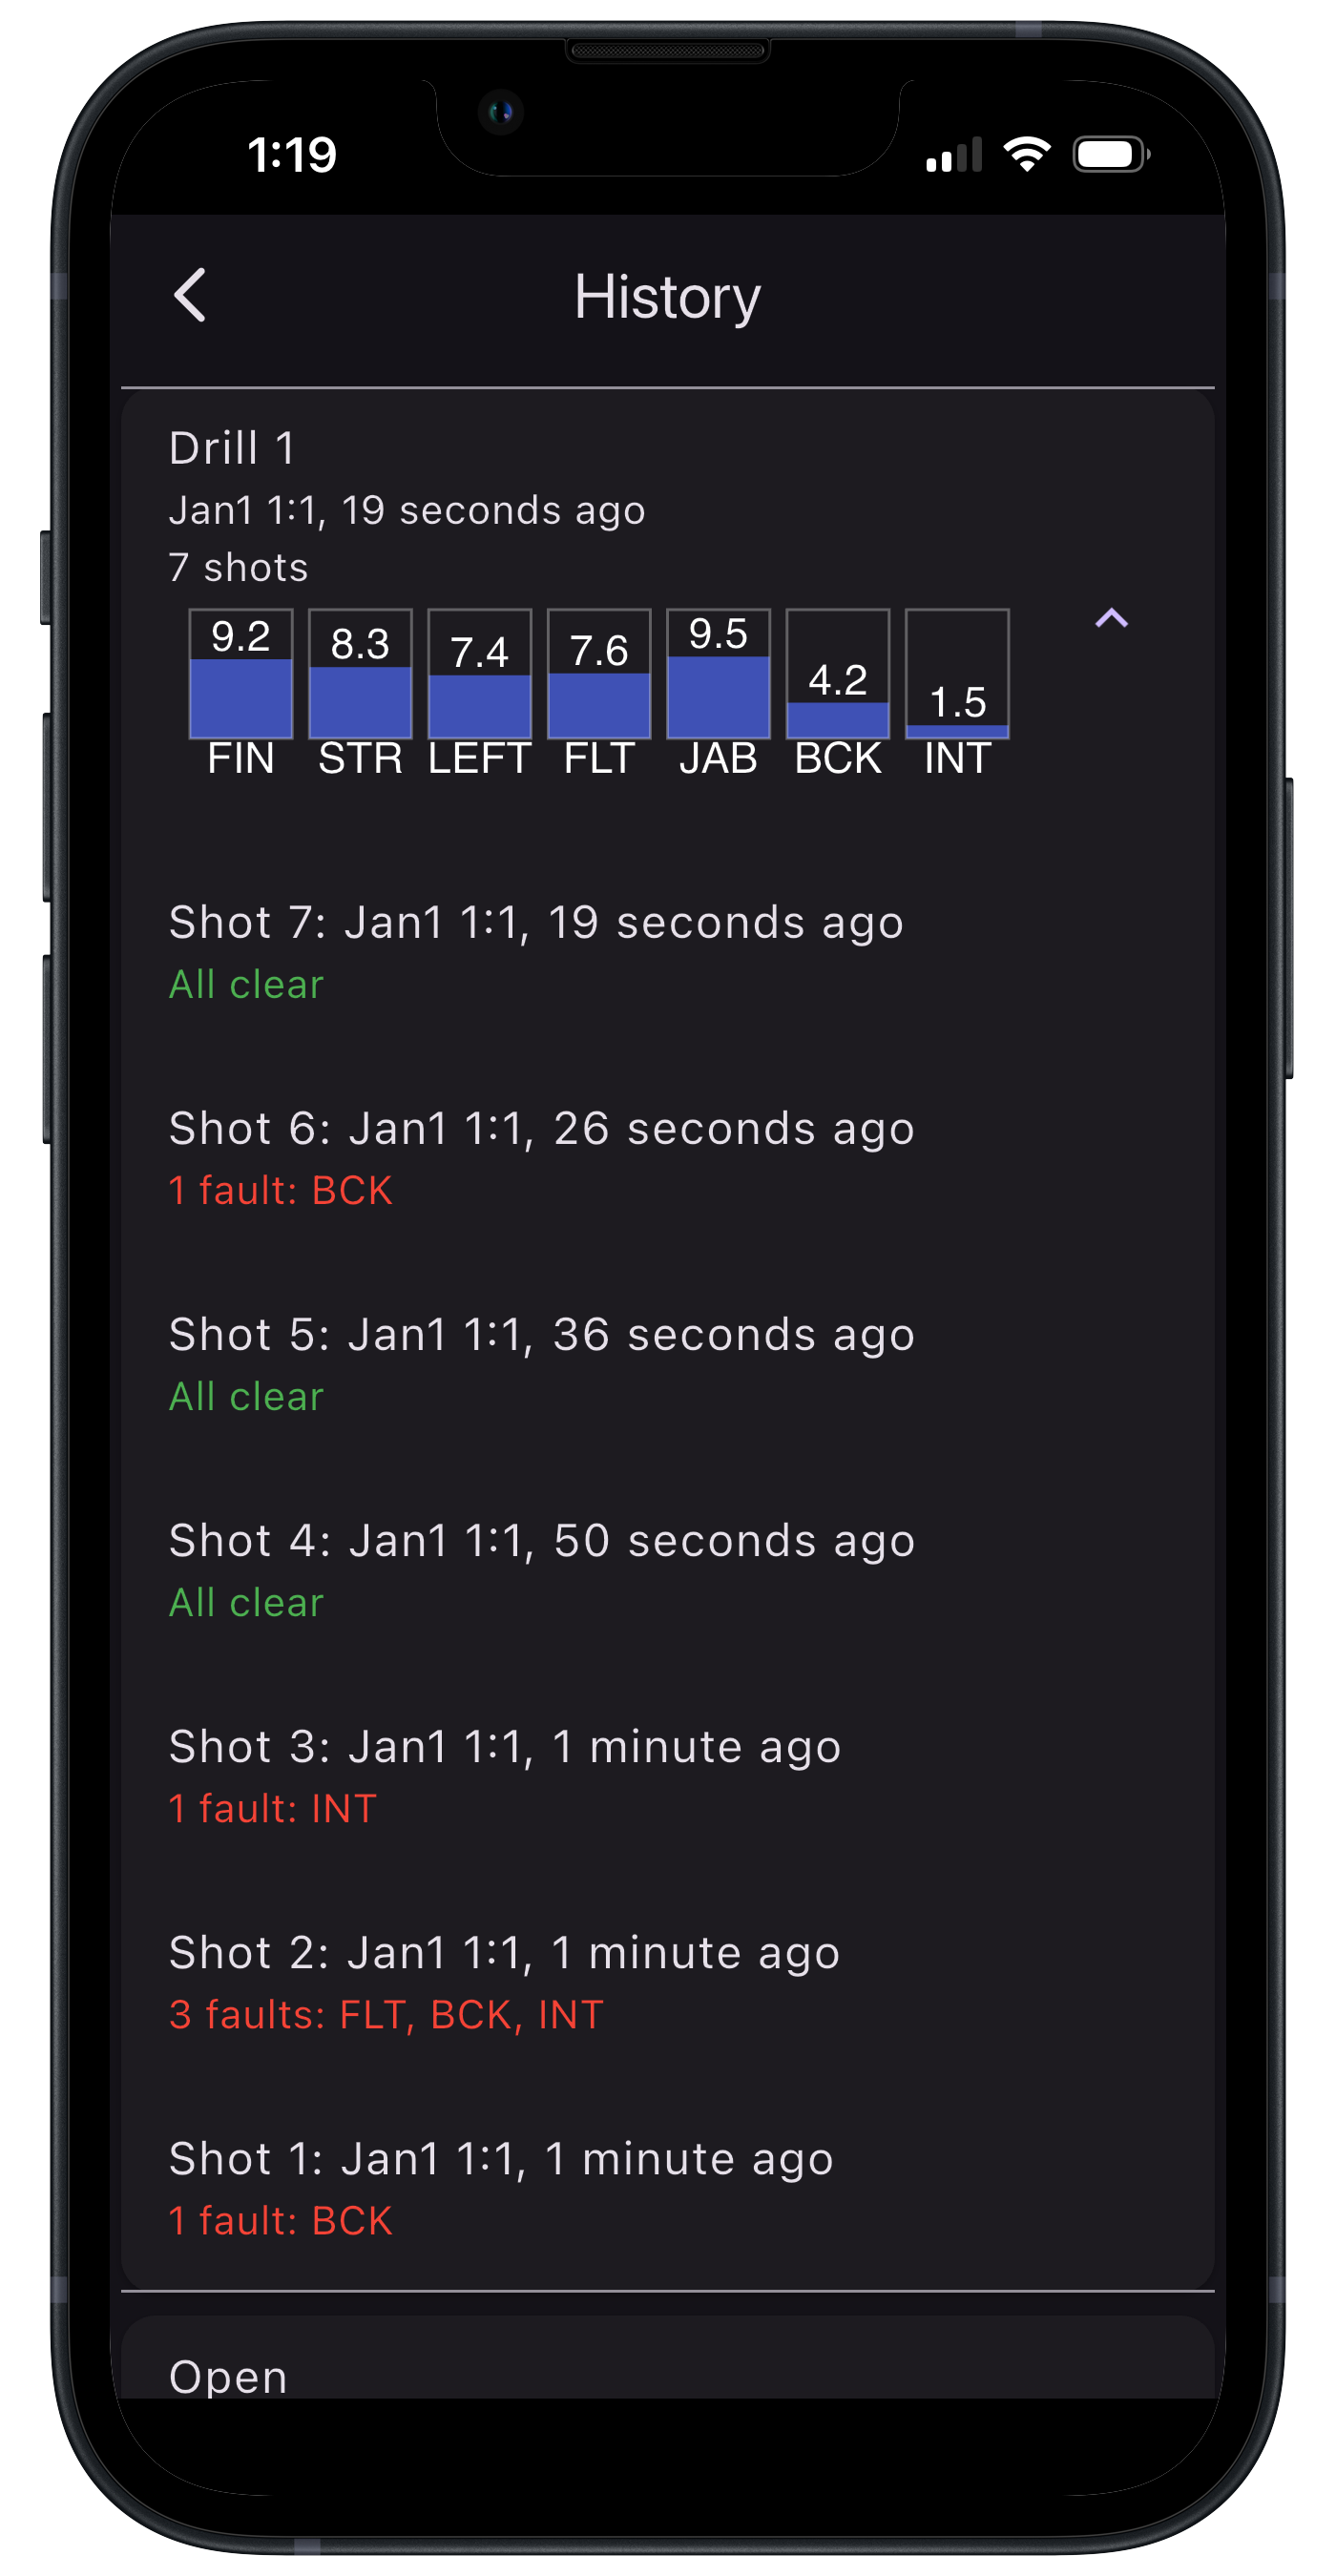
Select a specific shot to view more.
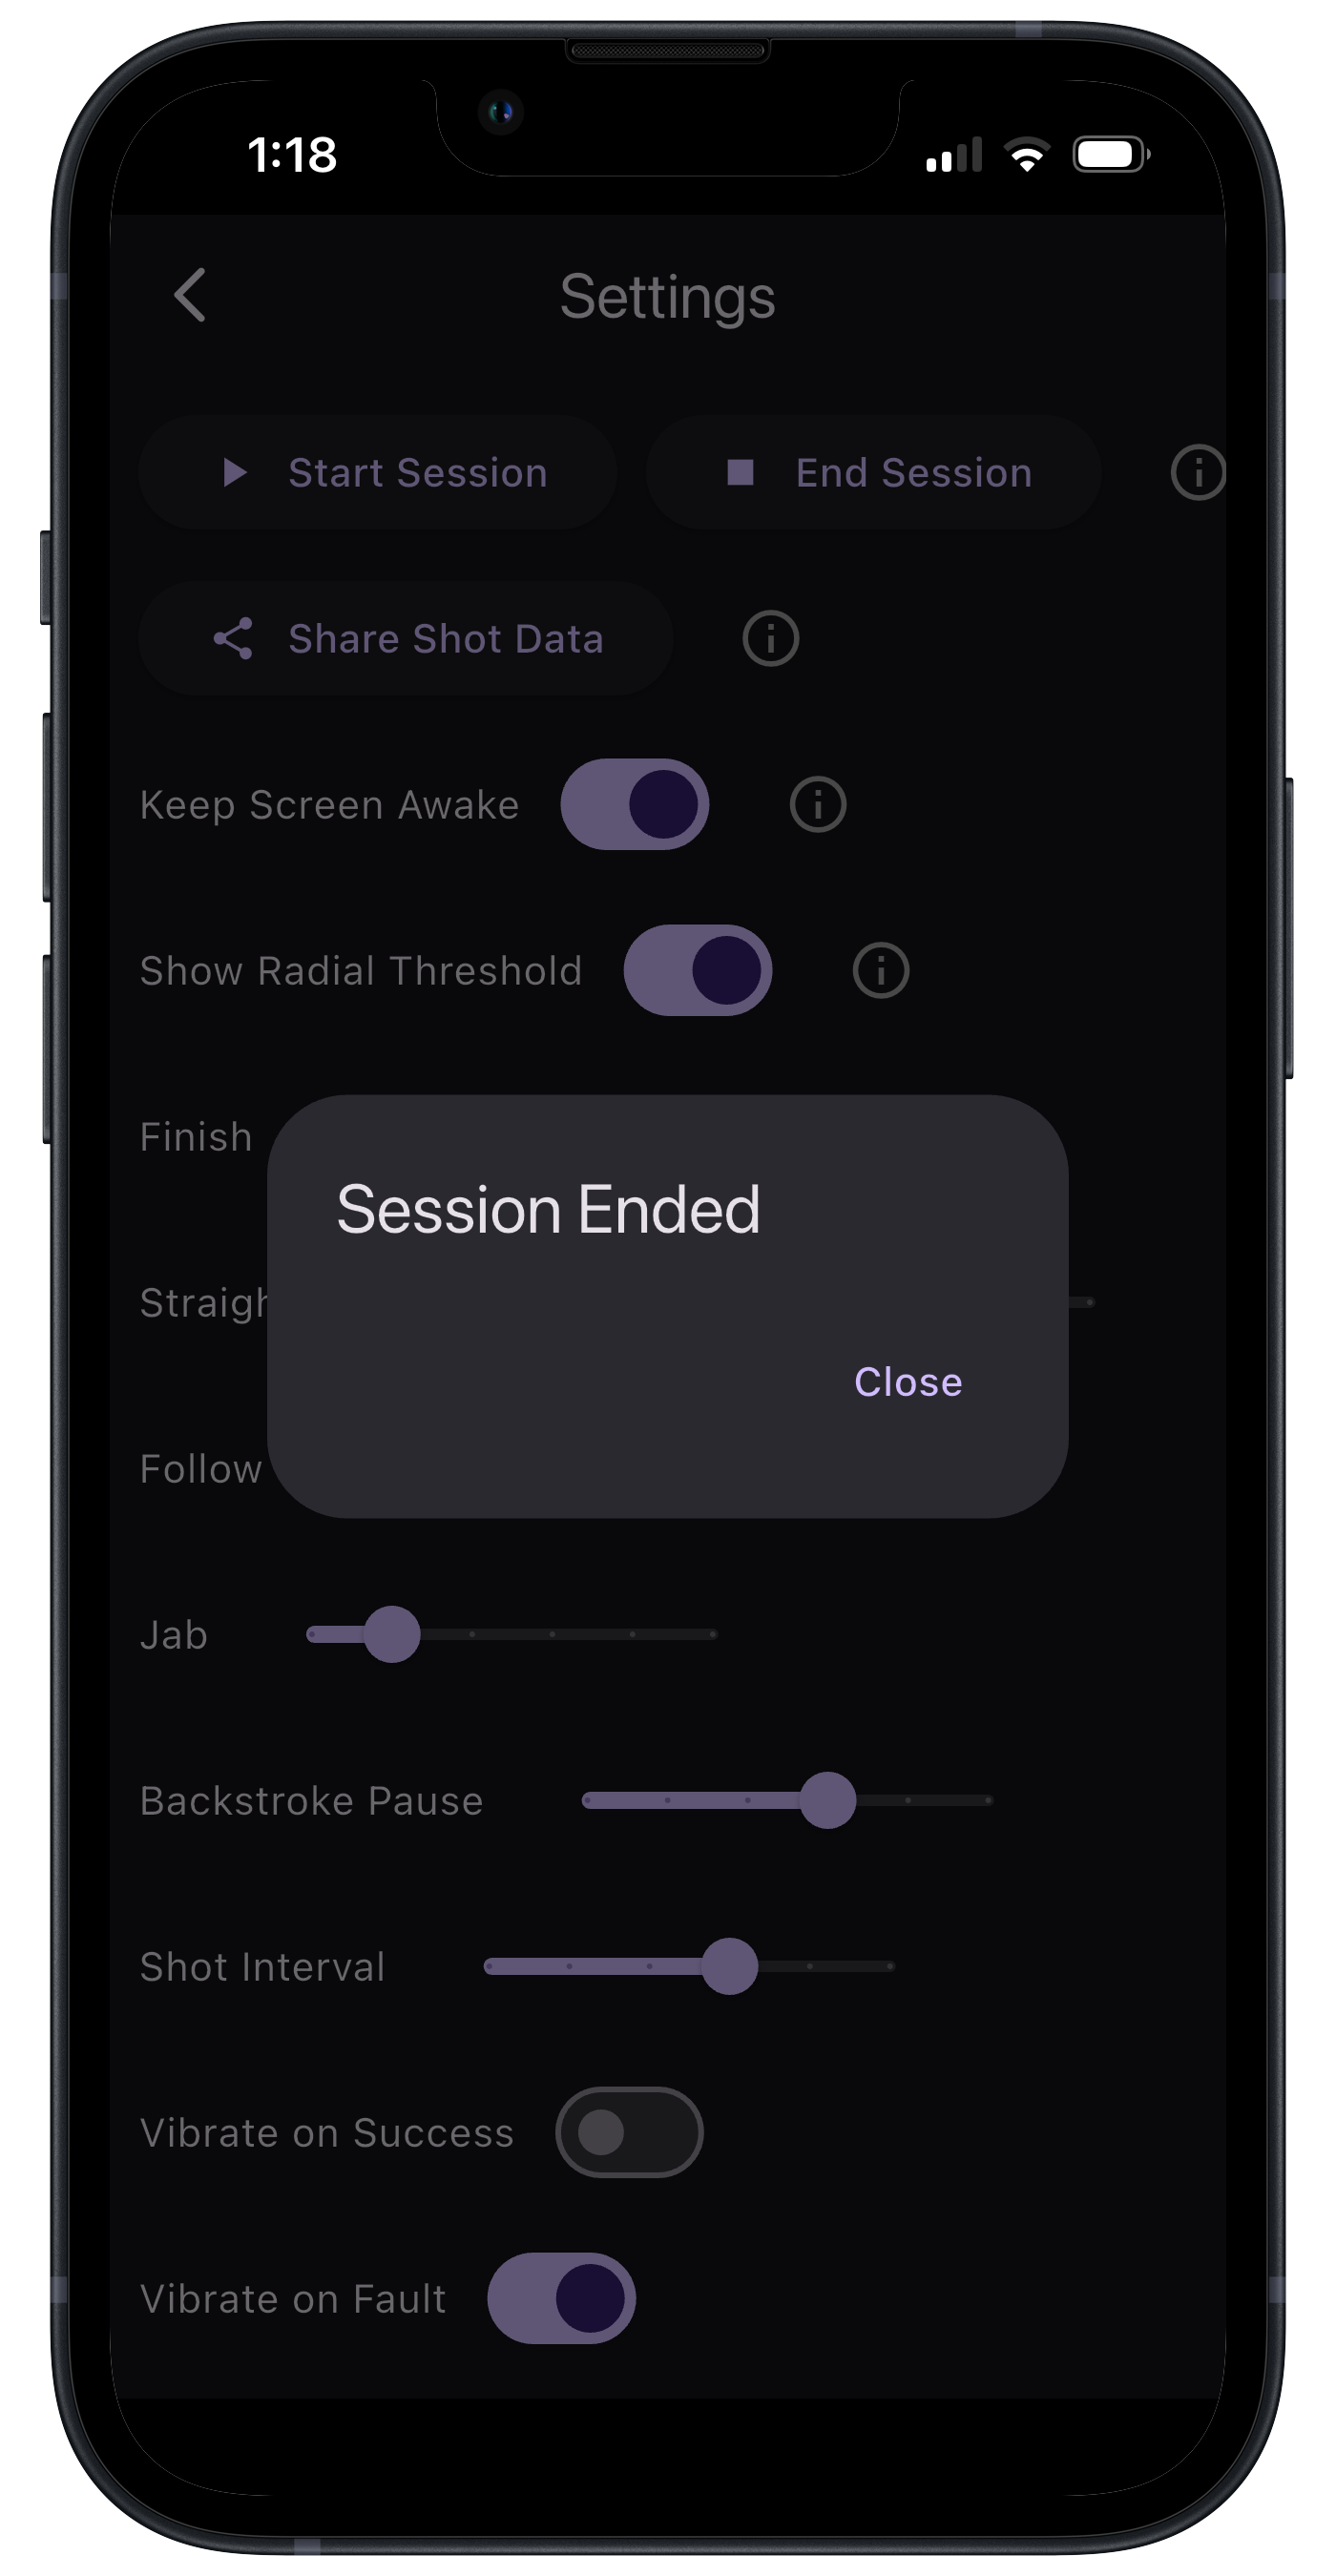
When you want to stop recording data to a Session, go back to settings and select End Session. Note: When a Session is not enabled, all shots will automatically be saved to a default session named 'Open'.
Please contact nataddrho@digicue.net for any questions.